Before Service
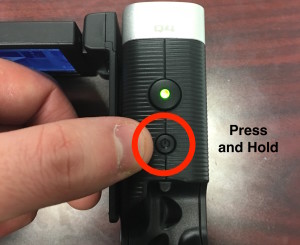
- Turn camera on.
- Back out of any menu that appears on the screen until you see the live capture in the viewfinder.
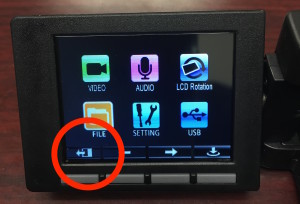
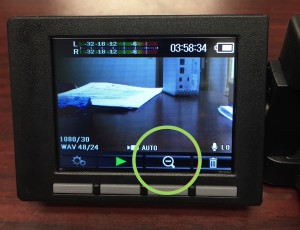
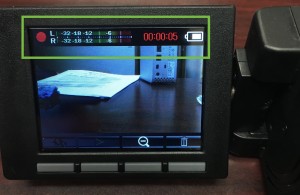
- You should see something like this:
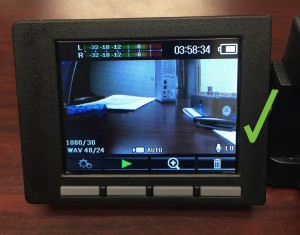
- You should see something like this:
- Press the “Zoom” button. You should see a “-” sign in the magnifying glass after you hit it.
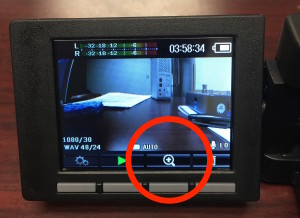
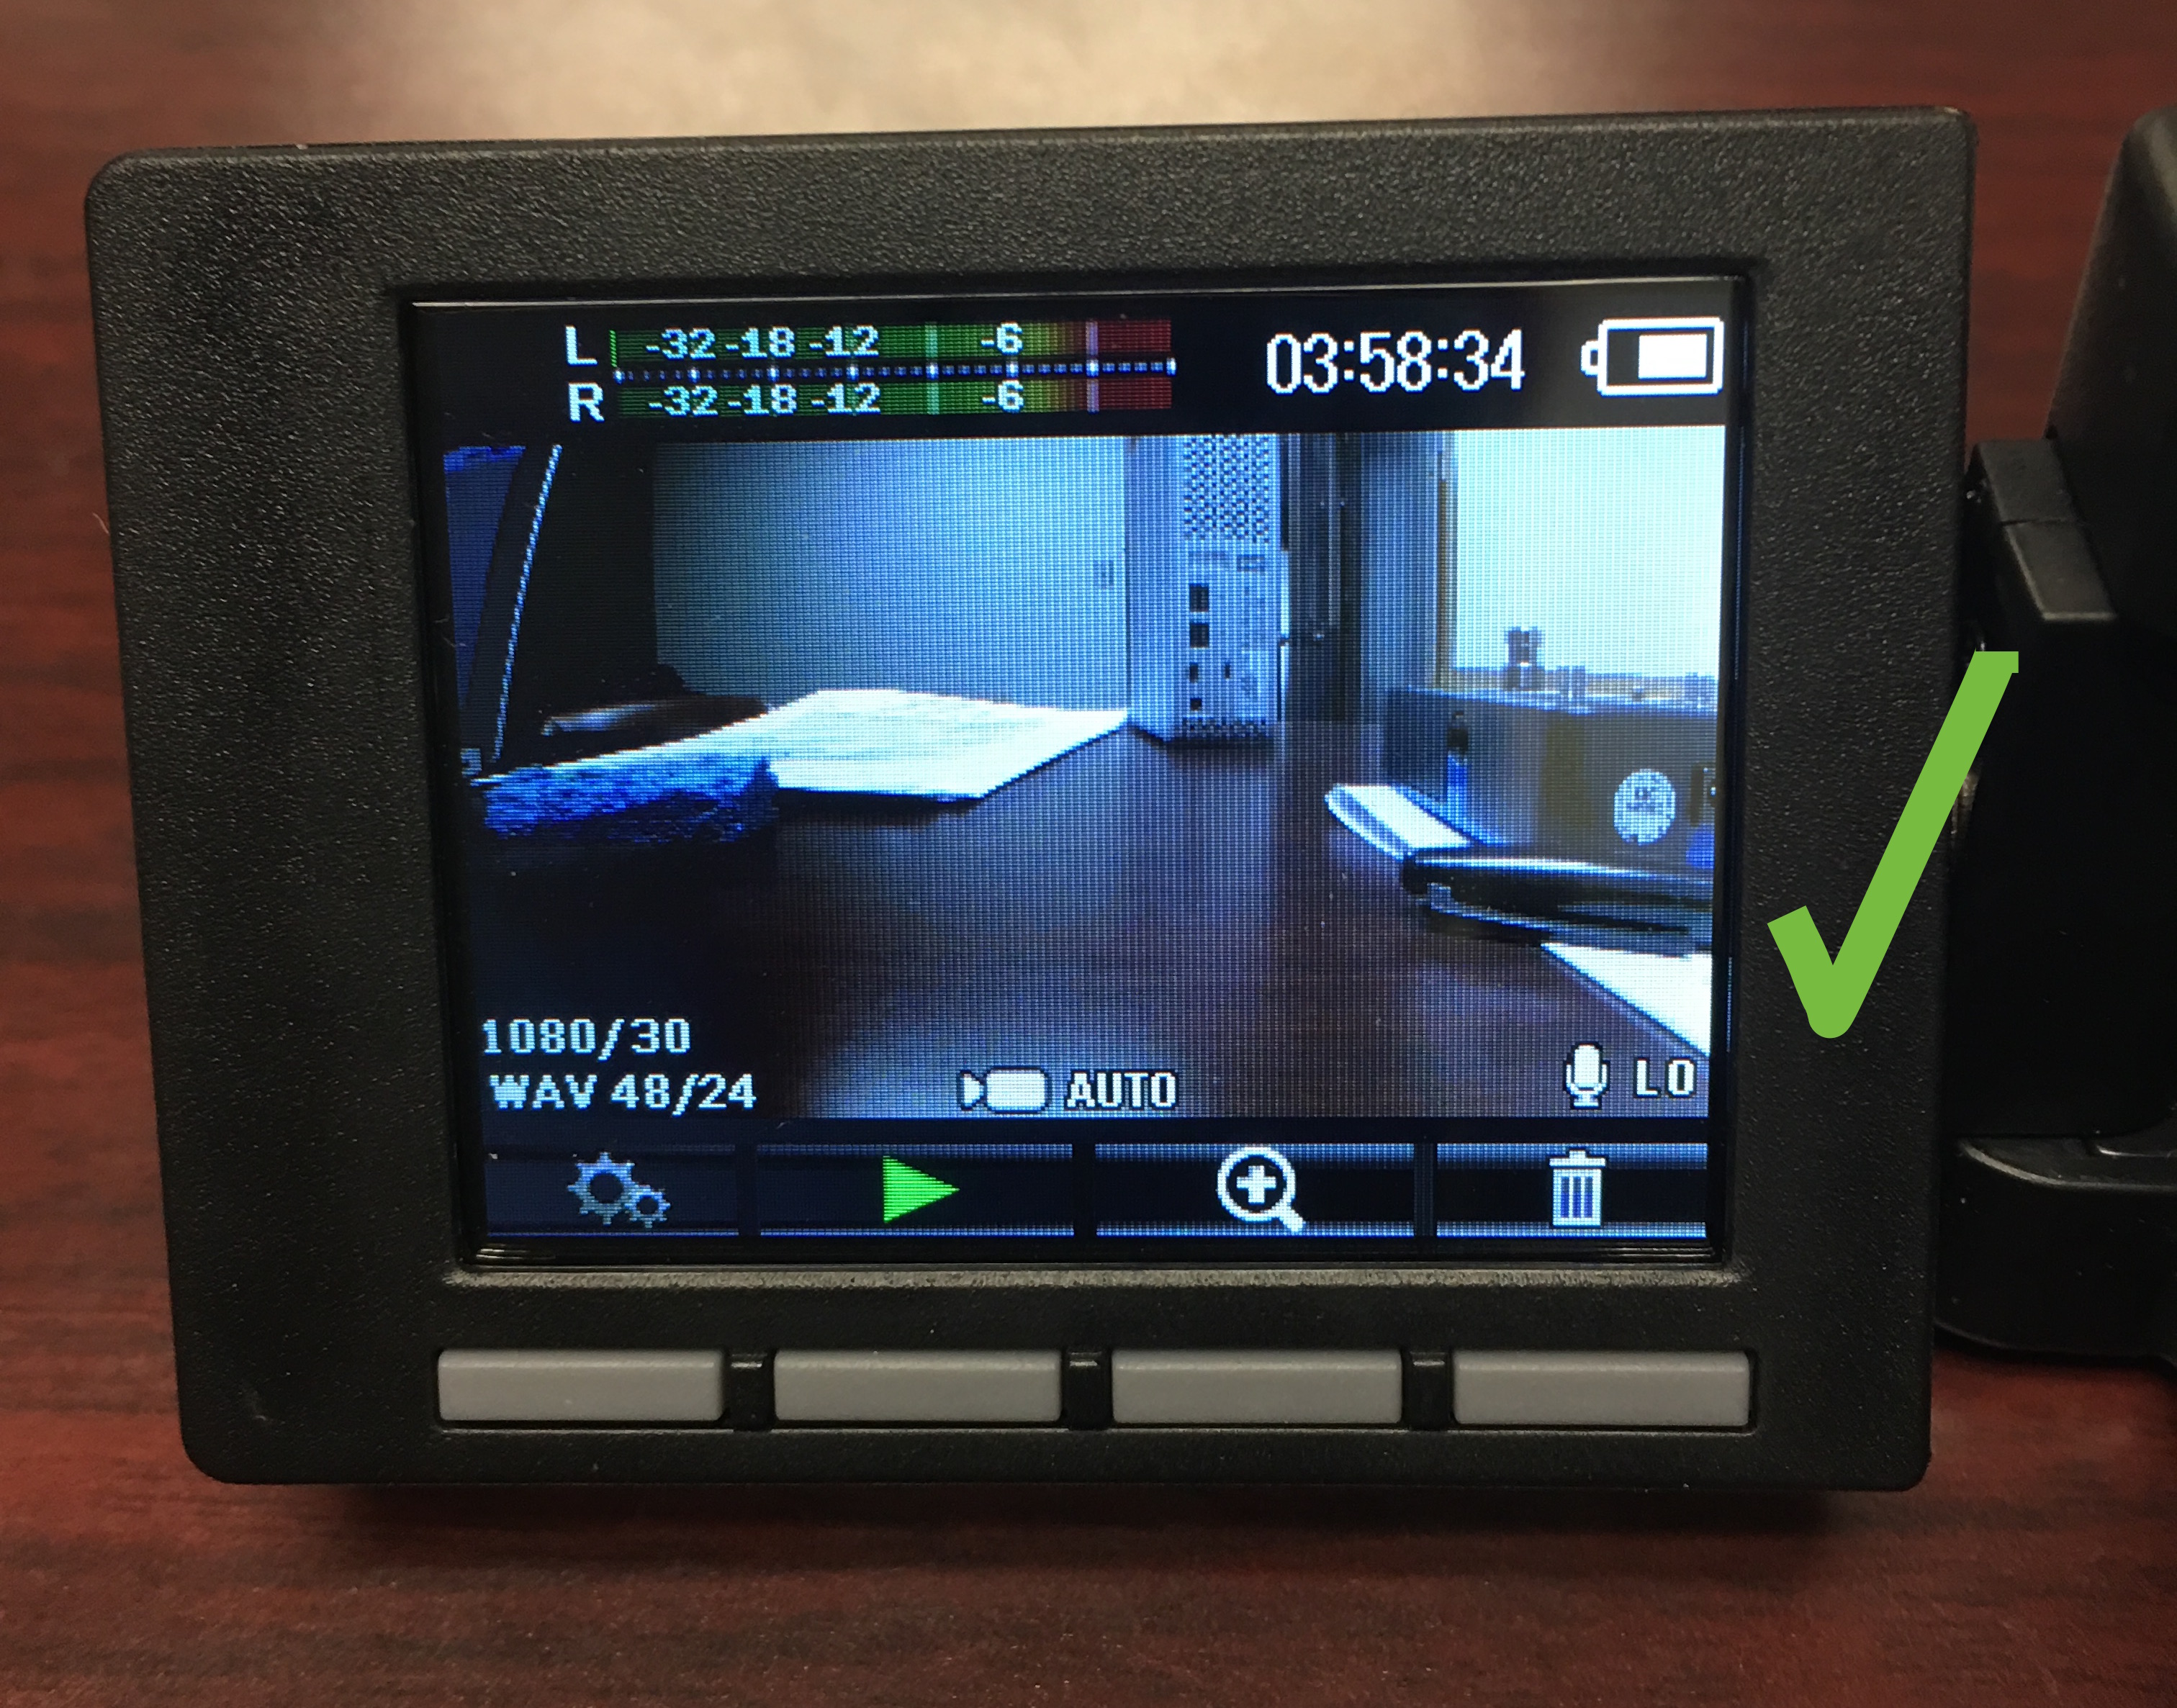
- Successful zoom:
- Successful zoom:
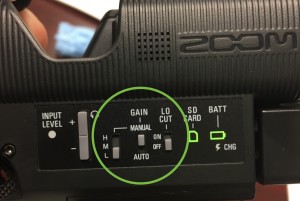
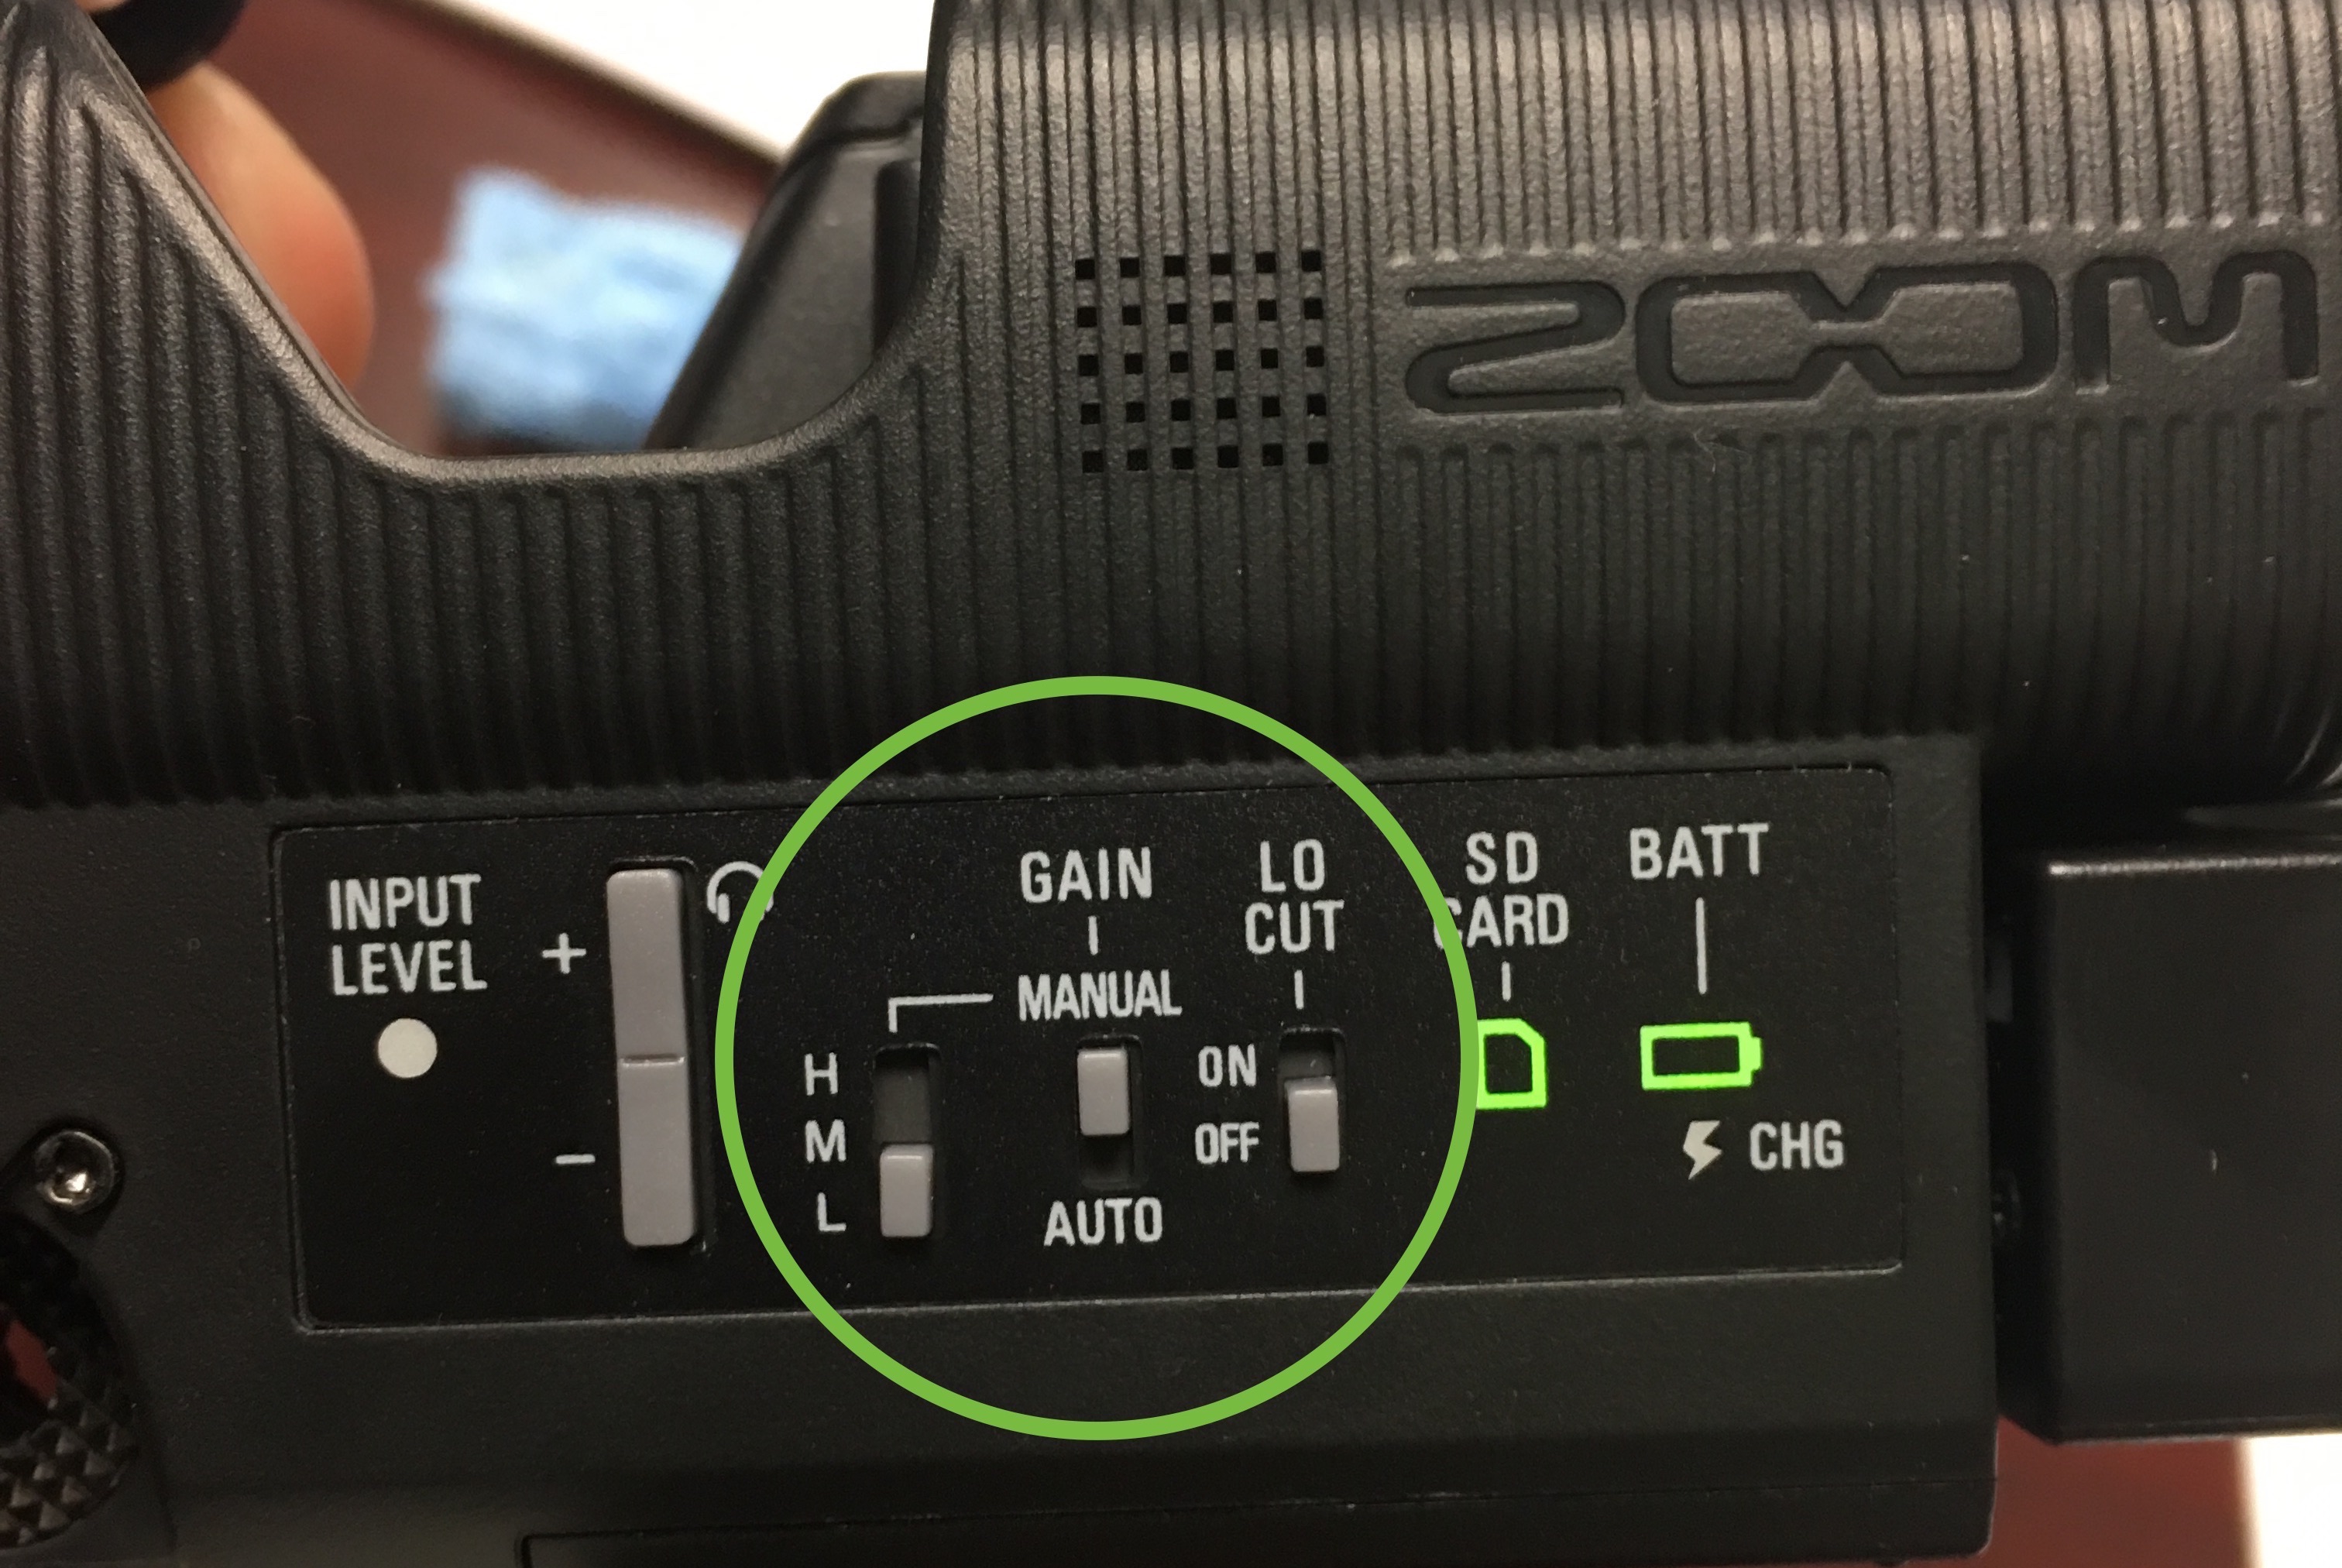
- Confirm the audio settings on the right side of the camera.
- “L”
- Gain – Manual
- Low Cut – Off


5 Minutes Before Service
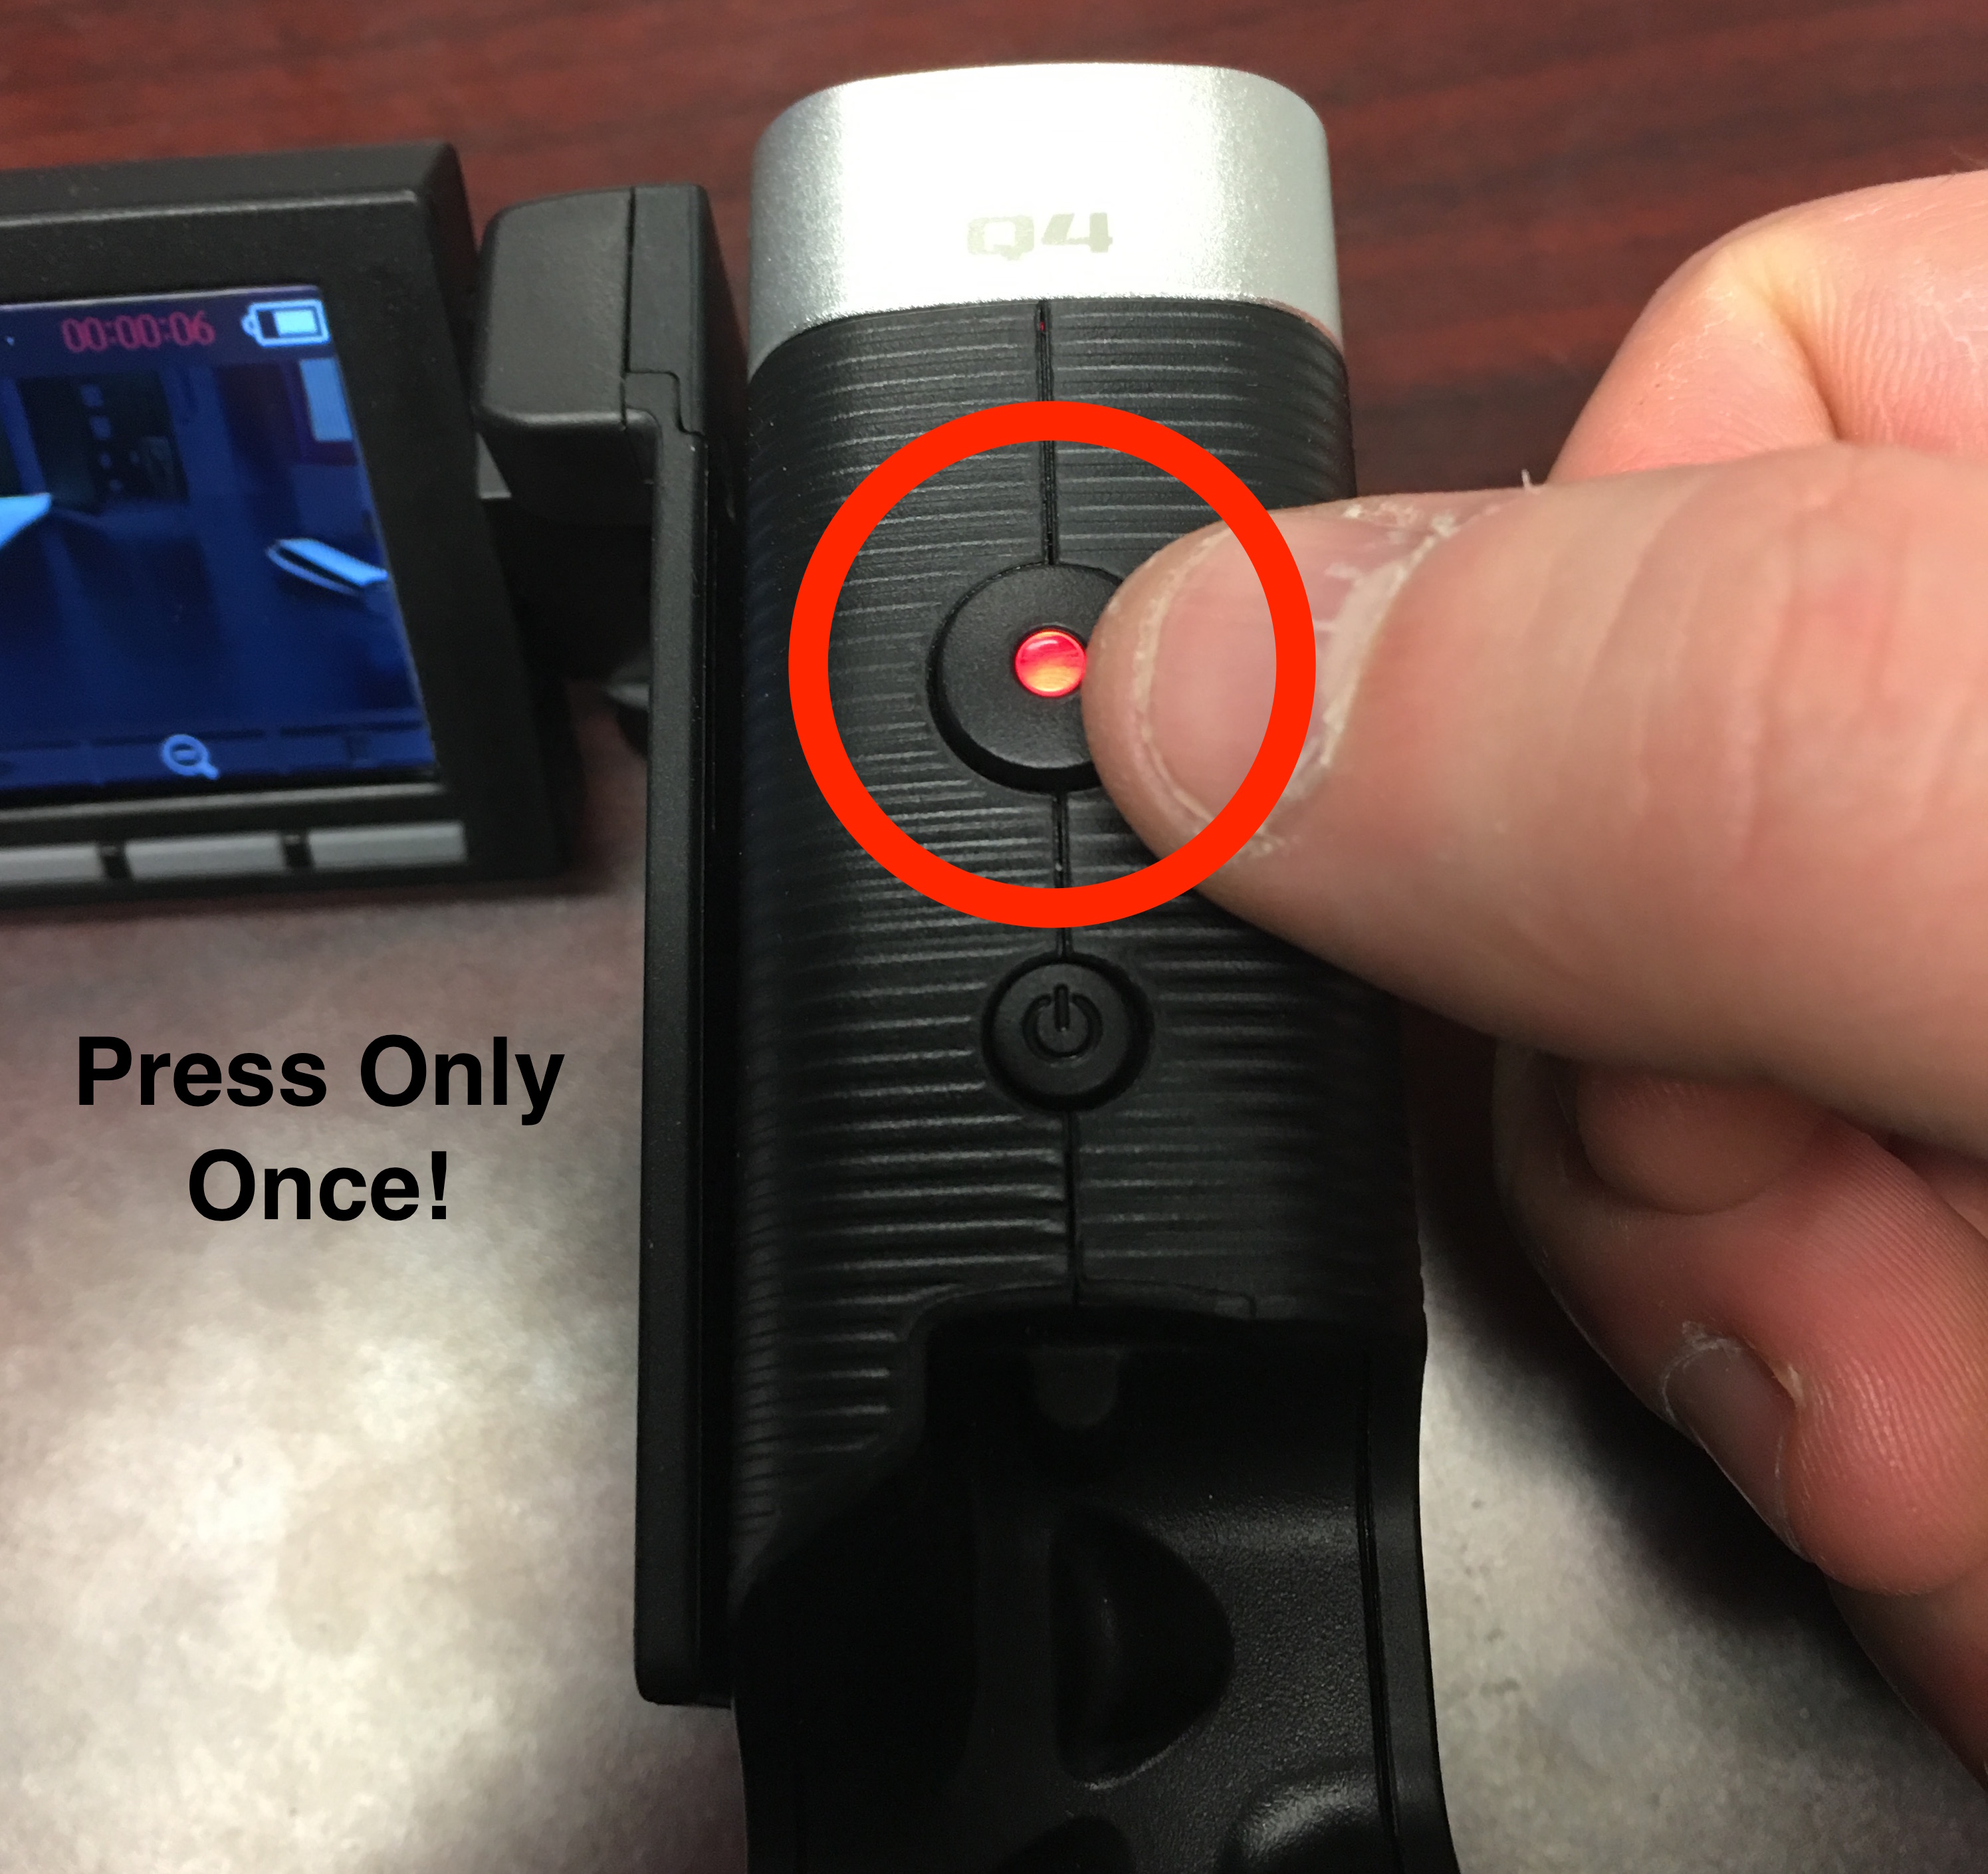
- Press “Record” button ONLY ONCE to start recording.

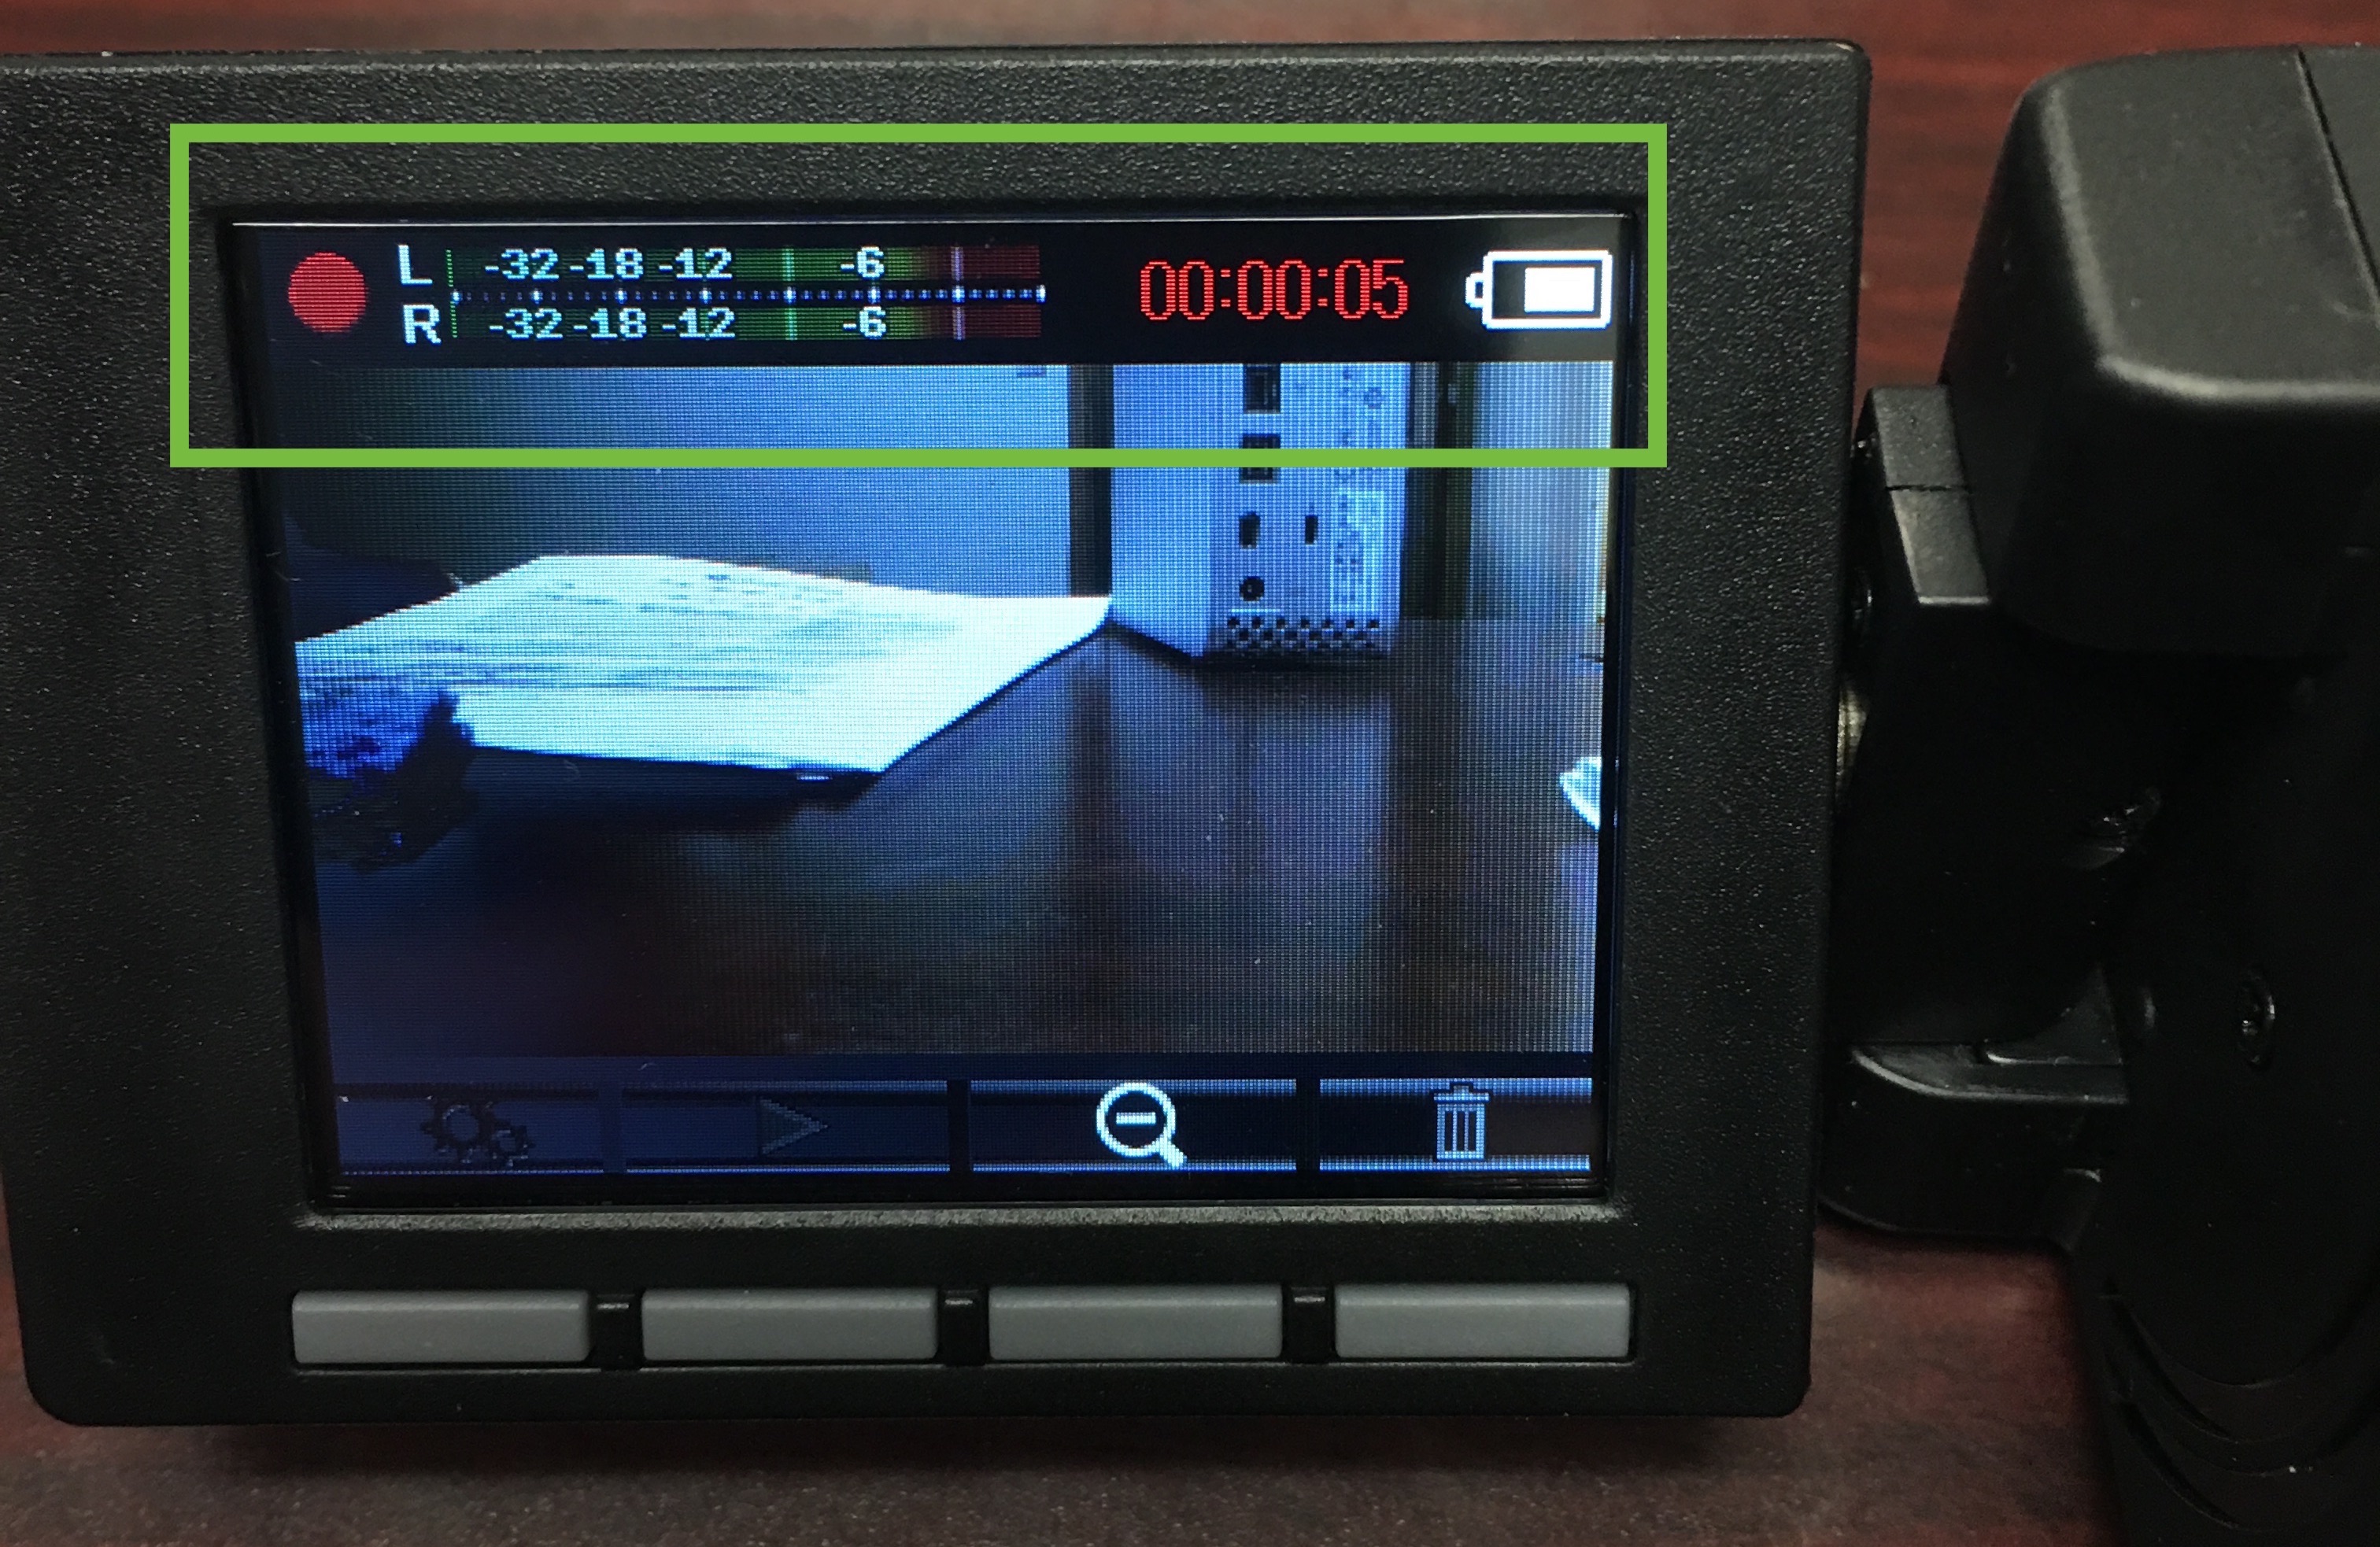
- If the top of the viewfinder screen shows a red circle record icon the camera is successfully recording.
- If the top of the viewfinder screen shows a red circle record icon the camera is successfully recording.
- Stop recording during the announcements before the message.
- Start recording again during the prayer at the end of the message.
- Stop recording after the last song or band outro if applicable.
After Service
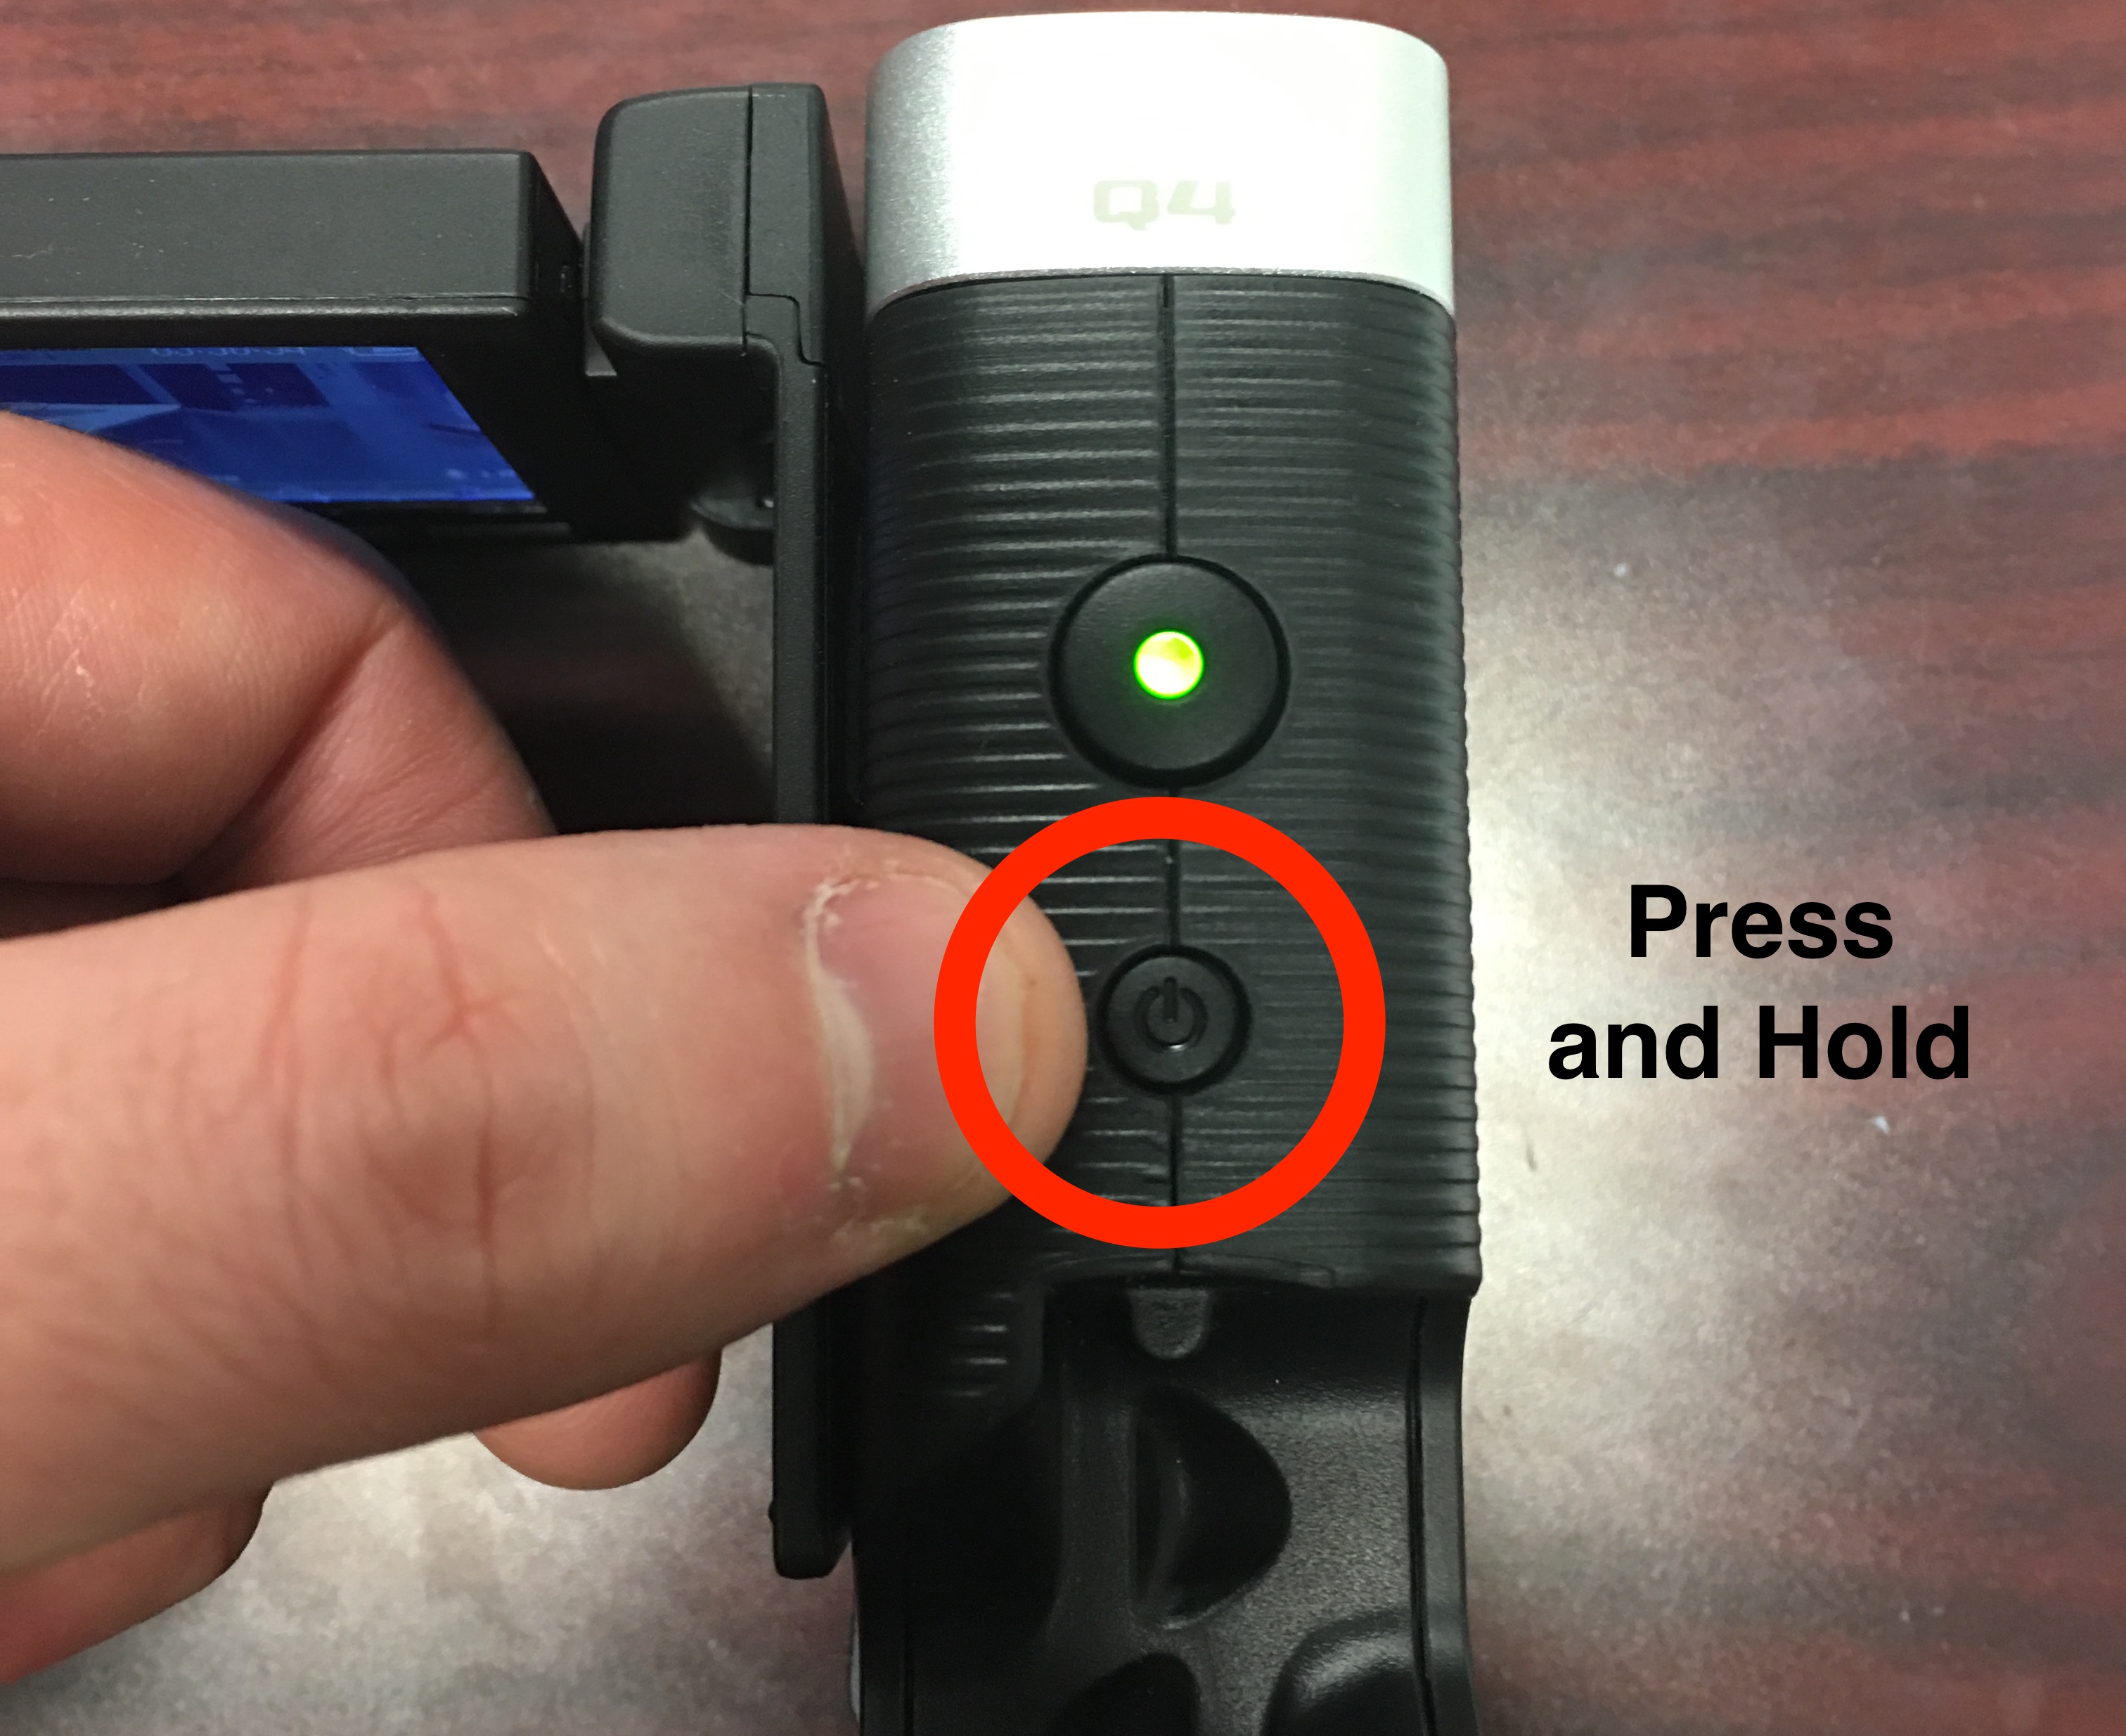
- Shut down the camera by pressing and holding the power button.
- Remove camera from tripod and place in the weekend service bin.