- Login to the video capture iMac.
- Pull the Holt drive out of the top Blackmagic SSD recorder.
- Carefully plug the drive into the SATA Dock to the right of the iMac.
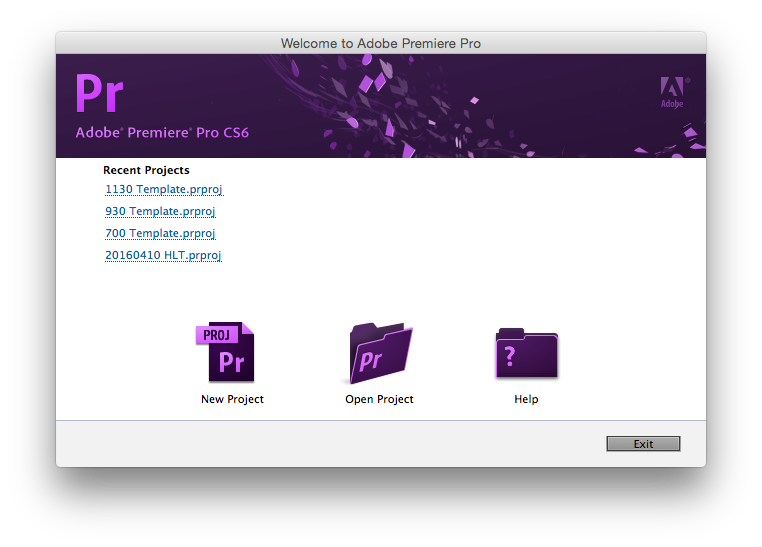
- Open Premiere Pro on the iMac.
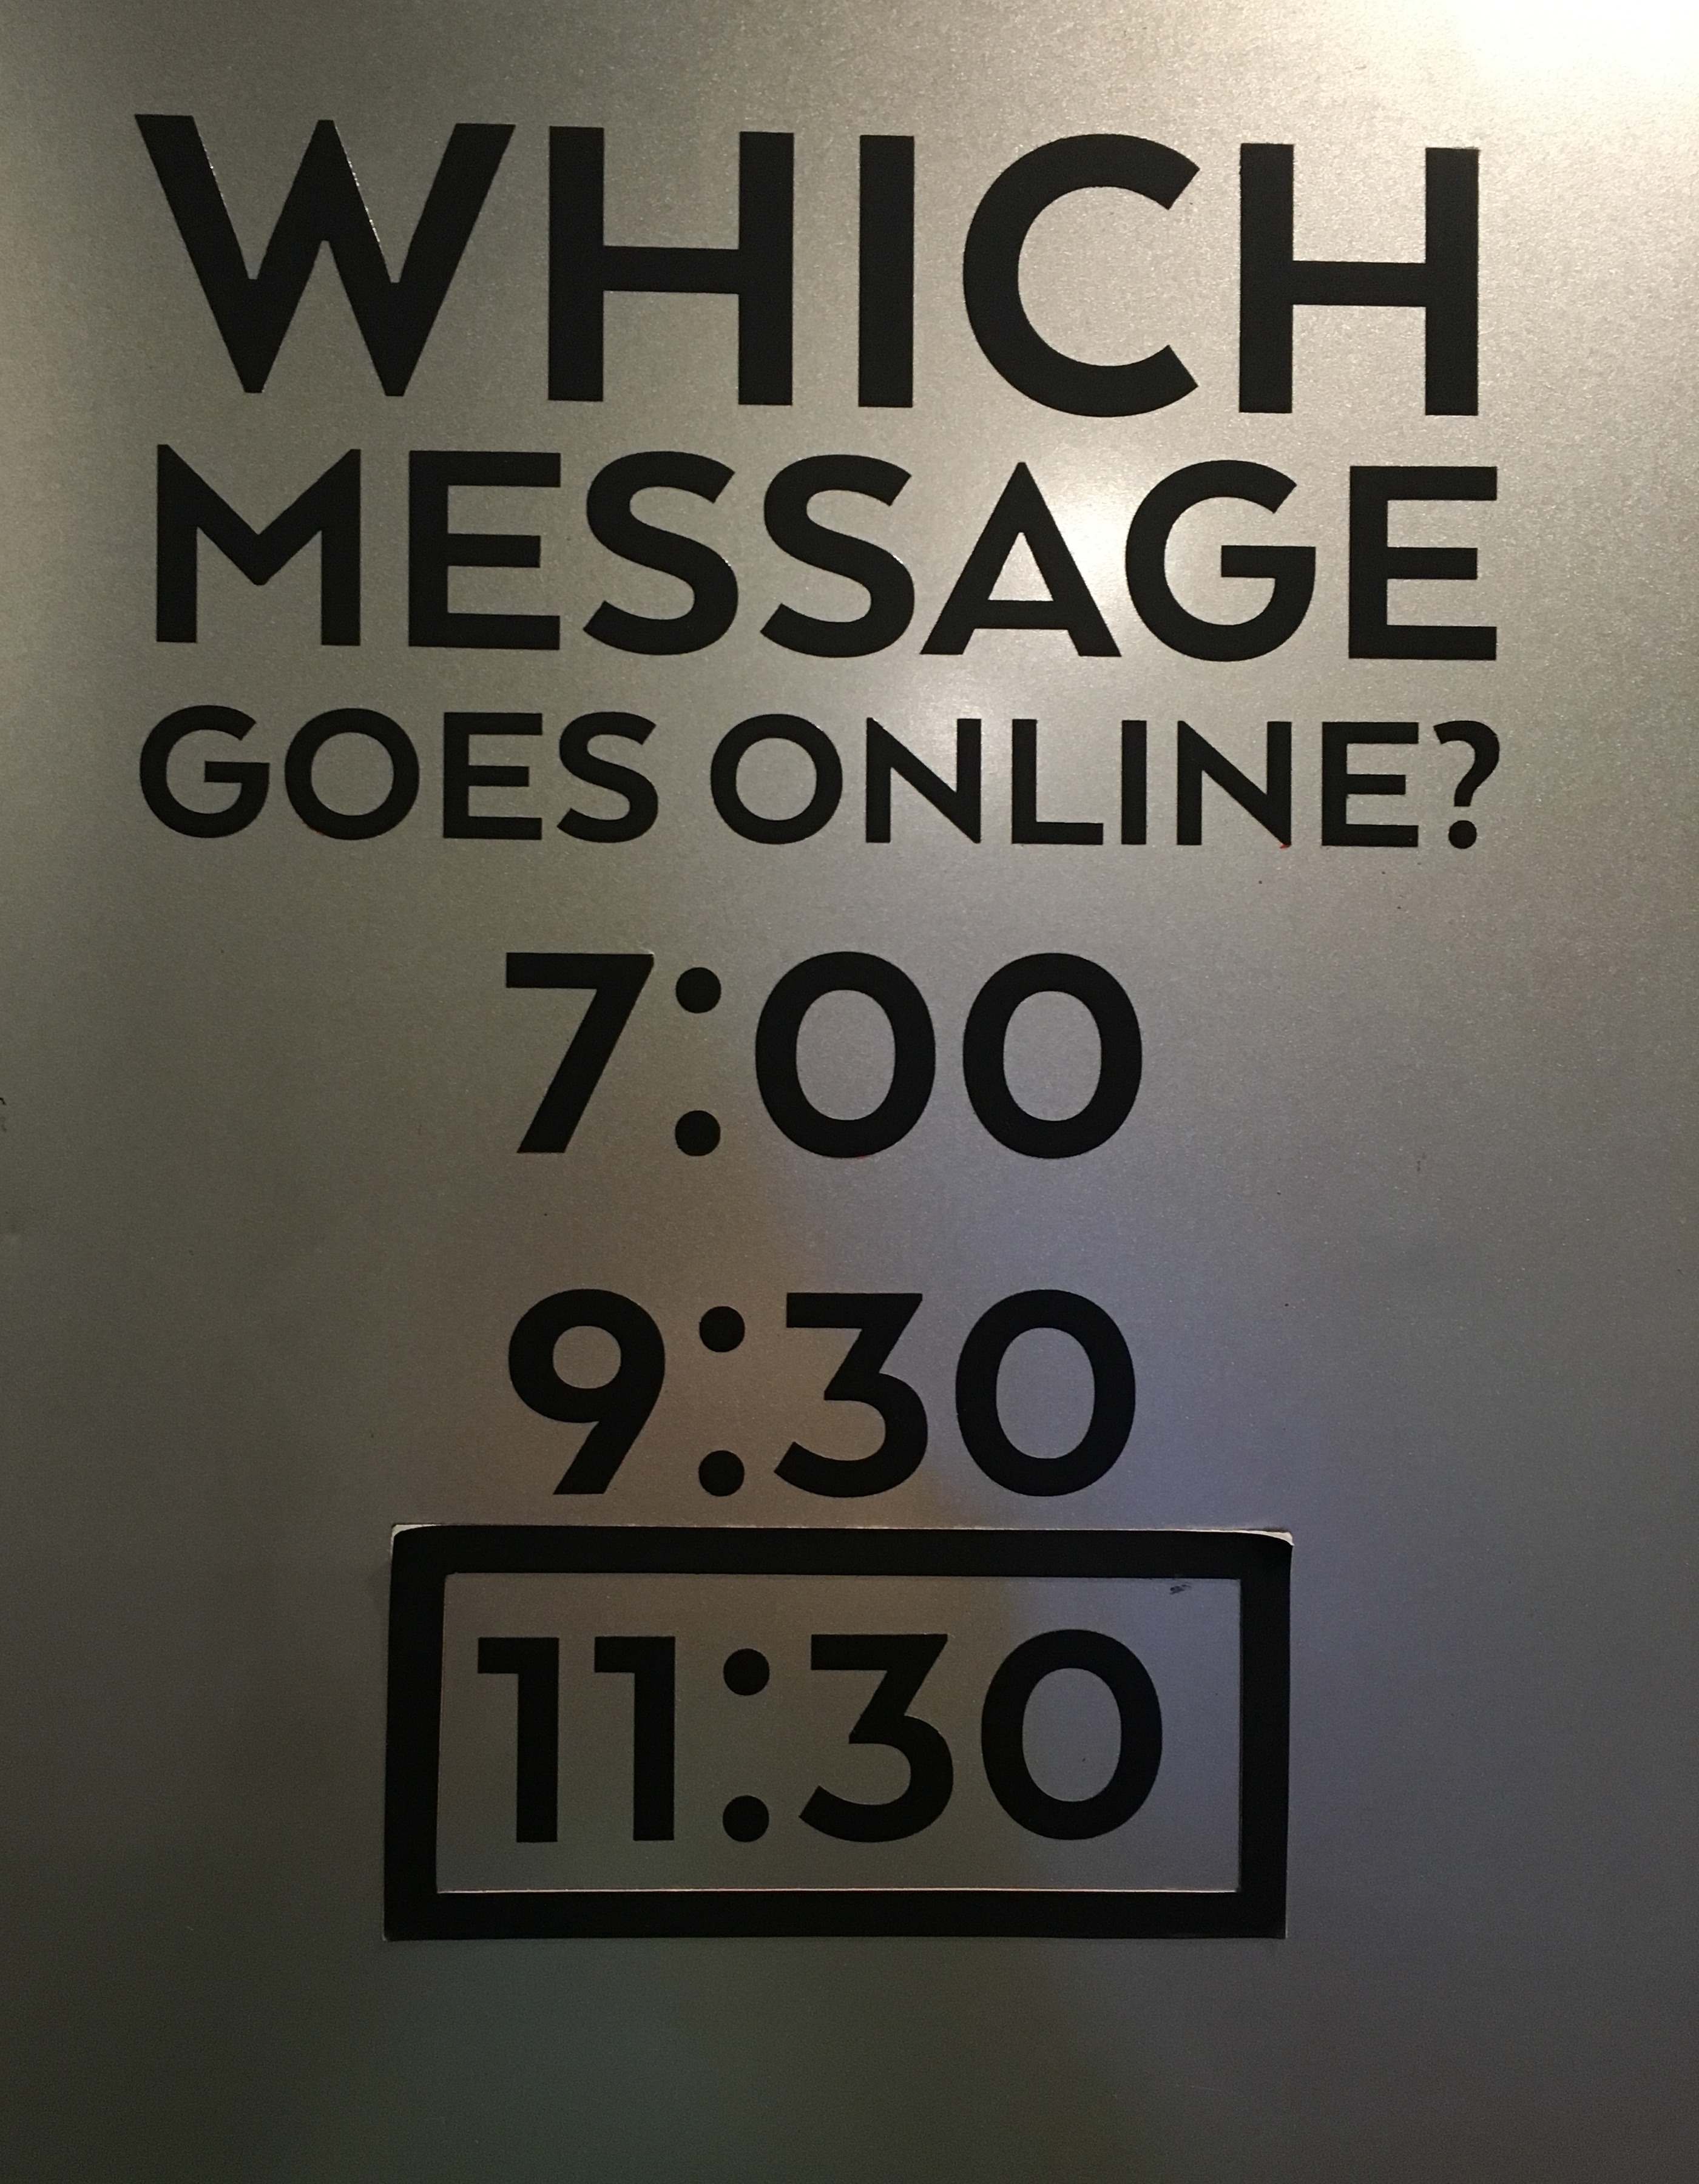
- Check the message board at the top of the booth stairs for which video to edit.
- Open the 1130, 930, or 7 template file based on which service you need to edit.
- If editing the 7pm message, use a drive from REO, MSU or Westside venue. The Holt drive does not contain the 7pm message footage.


Premiere Pro Layout

Editing the Message Video
- Click File -> Save As… -> “dateandvenue”
- In Premiere use the Select tool to click on the Capture000*.mov in the timeline.
- Click and drag the Playback Marker to find the beginning of the teaching.
- Zoom in using the “+” key on the keyboard
- Drag the Playback Marker to the point just before the speaker walks into the frame. You can use the left and right arrow keys to move frame by frame.
- Zoom out using the “-” key on the keyboard or the “\” key to zoom out completely.
- Move the mouse over the beginning of the Capture000*.mov clip and the cursor will change to a Trim tool. (Looks like “[“)
- Click and drag to the right to trim the clip to the Playback Marker.
- Click the middle of the Capture000*.mov clip and drag to the left until it snaps to the clip before it. There will be little white arrows that appear where the clips line up.
- Repeat steps 2 – 5 except start at the end of the Capture000*.mov clip and trim left.
- Be sure to trim the clip to just after the speaker walks out of frame.
- Once you have trimmed the Capture000*.mov clip to the correct start and end points, drag the “Video End Graphic” sequence from the “Video End Graphic” folder in the Project window onto the “Video 1” track at the end of the Capture000*.mov clip.
- There will be little white arrows that appear when the clip is lined up correctly.
- Click the Playback Marker and drag to just before the end of the video clips. Press the space bar to start playing the video. The video should stop automatically at the end of the closing graphic. Once this happens press the “O” (oh) key on the keyboard.
- Click the Playback Marker and drag all the way to the left before all video clips. Press the “I” (eye) key on the keyboard.
- Press the spacebar to start playback. Watch the make sure the intro video and message video start and transition nicely. If the 2 videos overlap, you’ll need to use the select tool to line them up properly.
- Save your “dateandvenue” project file. Be sure to not save over the template file!
Exporting the Message Video
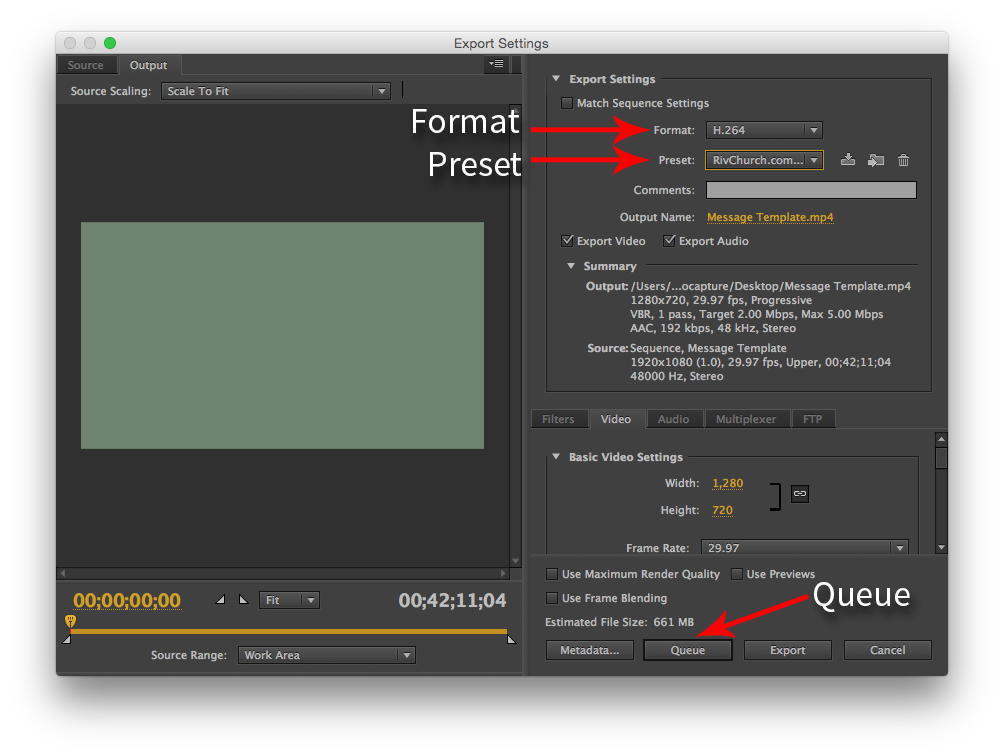
- Now that the intro video, teaching video, and end graphic are all in the correct place, click File -> Export -> Media.
- At the top right of the export settings window, make sure the format is “H.264” and the preset is “RivChurch.com Message.”
- Click the “Queue” button at the bottom of the export window. This will open the Media Encoder application.
- In the Media Encoder window click on the Output file link to change the name.
- Name the file all lowercase “speakerfirstandlastname_messagetitle.” Click “Save.”
- Right click on the “Message Template” and click duplicate.
- Using the drop down list, change the format to “MP3” and the Preset to “RivChurch.com Audio Only.”
- Click the Output file link and remove the “_1” from the end of the name.
- Right click on the top “Message Template” and click duplicate.
- Using the drop down list, change the format to “QuickTime” and the Preset to “ProRes Message Archive.”
- Click the Output file link and remove the “_1” from the end of the name.
- Add the prefix “ProRes_” to the filename as well.
- Click the play button to start the video encodes.
- You will need to wait for the first 2 encodes to finish.
- This should take about 45 minutes to 1 hour.


Upload Video and Audio Files
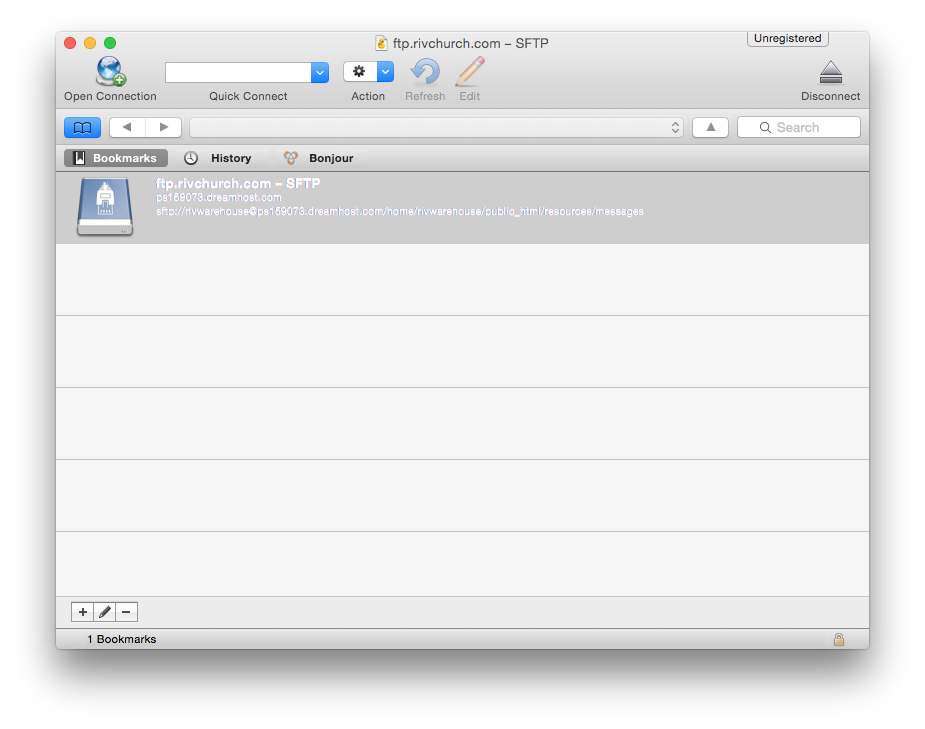
- Open Cyberduck to upload the “speakerfirstandlastname_messagetitle.mp*” files.
- Click the bookmark button, then double click the “s3.amazonaws.com – S3” bookmark.
- Double click on the folder of the current teaching series.
- Once the “speakerfirstandlastname_messagetitle.mp4” and “speakerfirstandlastname_messagetitle.mp3” are finished encoding, drag the files from the desktop into the Cyberduck window to upload.
- Once the files are finished uploading, click the Disconnect button and quit Cyberduck.
Update the Message Post in WordPress
Follow the instructions in the following link: WordPress Message Posting Instructions
If you have any questions about this process, please contact [email protected]