These instructions have been depreciated. Please see Camera Post Service Saturday for our current procedures.
Category Archives: Camera Team
Camera Post Service Saturday
We’re now adding a few post service procedures for camera on Saturday night. These steps will make sure that the recorded message from Saturday makes it to our venues on Sunday morning. Here’s the steps to make that possible.
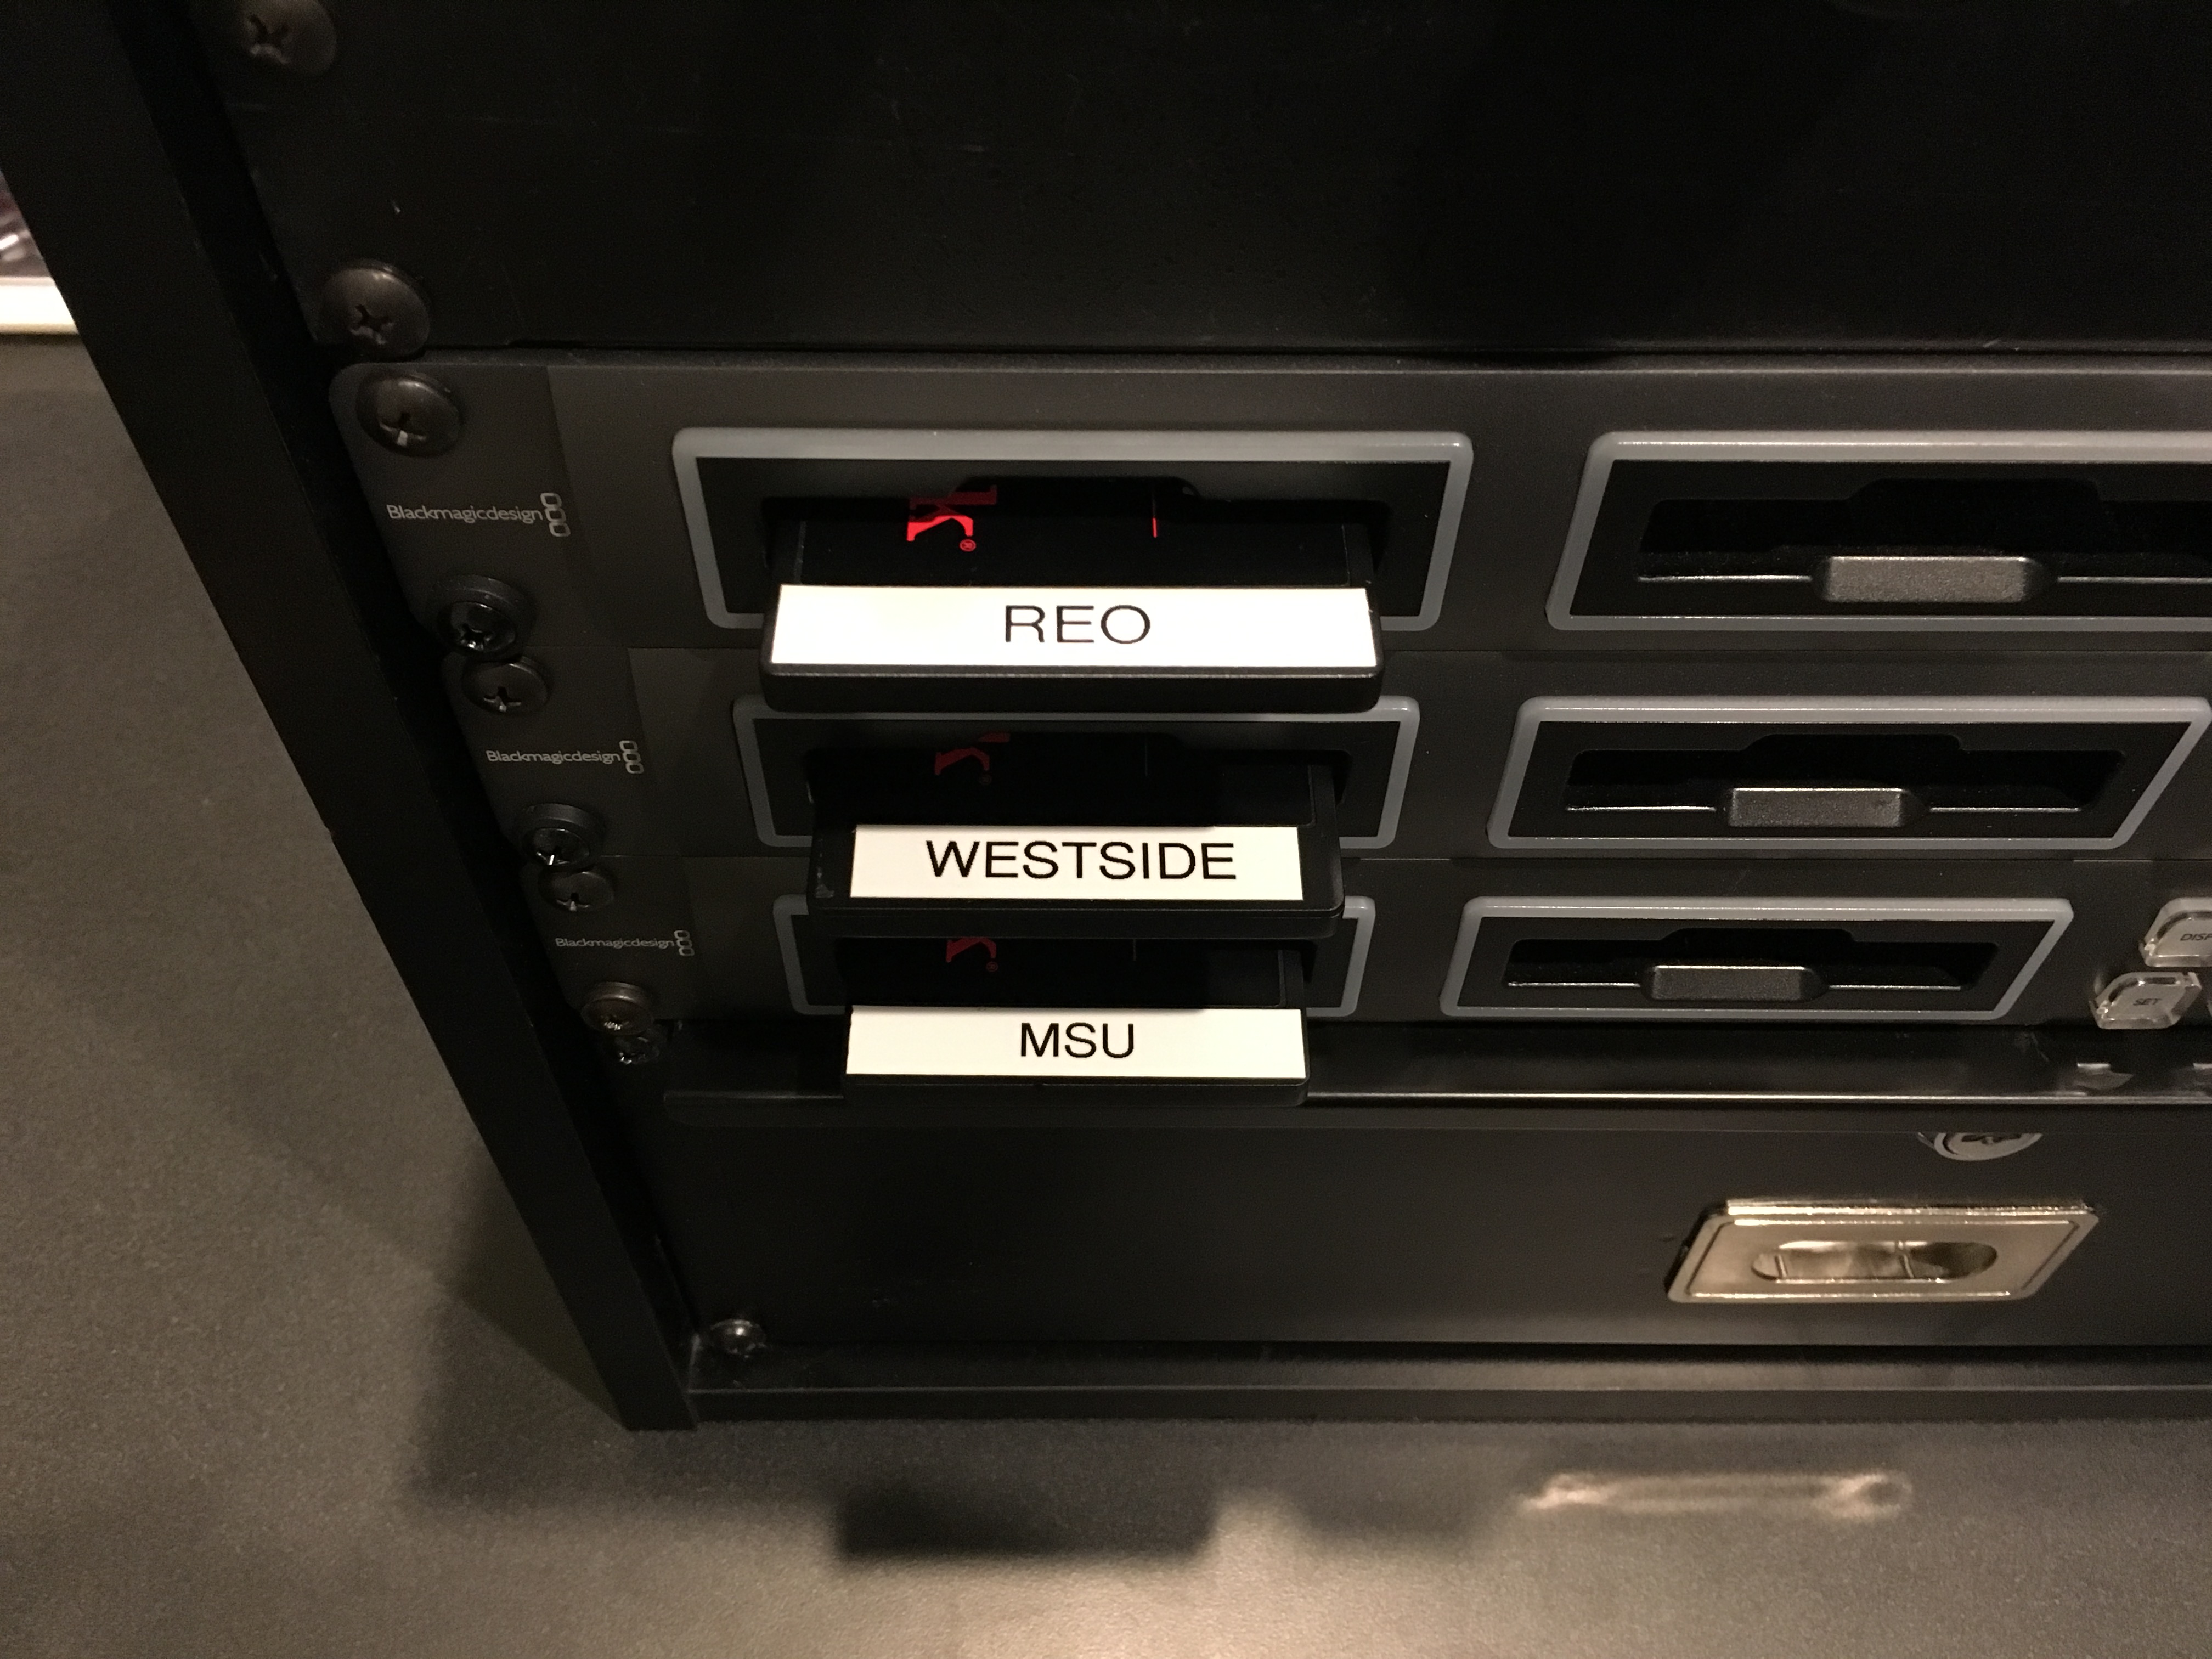
1. Unplug the Westside SSD, REO Town SSD, MSU SSD, and LCCC SSD from the rack mounted Blackmagic Recorders and put them in the Westside, REO Town, MSU, and LCCC SSD cases. Take the SSD cases and place them in the Westside, REO Town, and MSU bins next to the couch in the AV Booth. Leave the LCCC SSD on the counter next to the iMac computers.
2. Remove the Holt SSD from its case and insert it into the left dock of the top rack mounted Blackmagic Recorder. Remove the Backup SSD from its case and insert it into the left dock of the 2nd rack mounted Blackmagic Recorder. The docks will briefly glow green when the drives have been properly inserted.
Once the SSD drives are taken care of, we need to load the backup message video onto the MSU Message MacBook. There’s a few simple steps to load up the backup video.
1. Turn on the MSU Message MacBook.

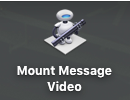
2. On the MSU MacBook desktop, double click the Mount Message Video icon.
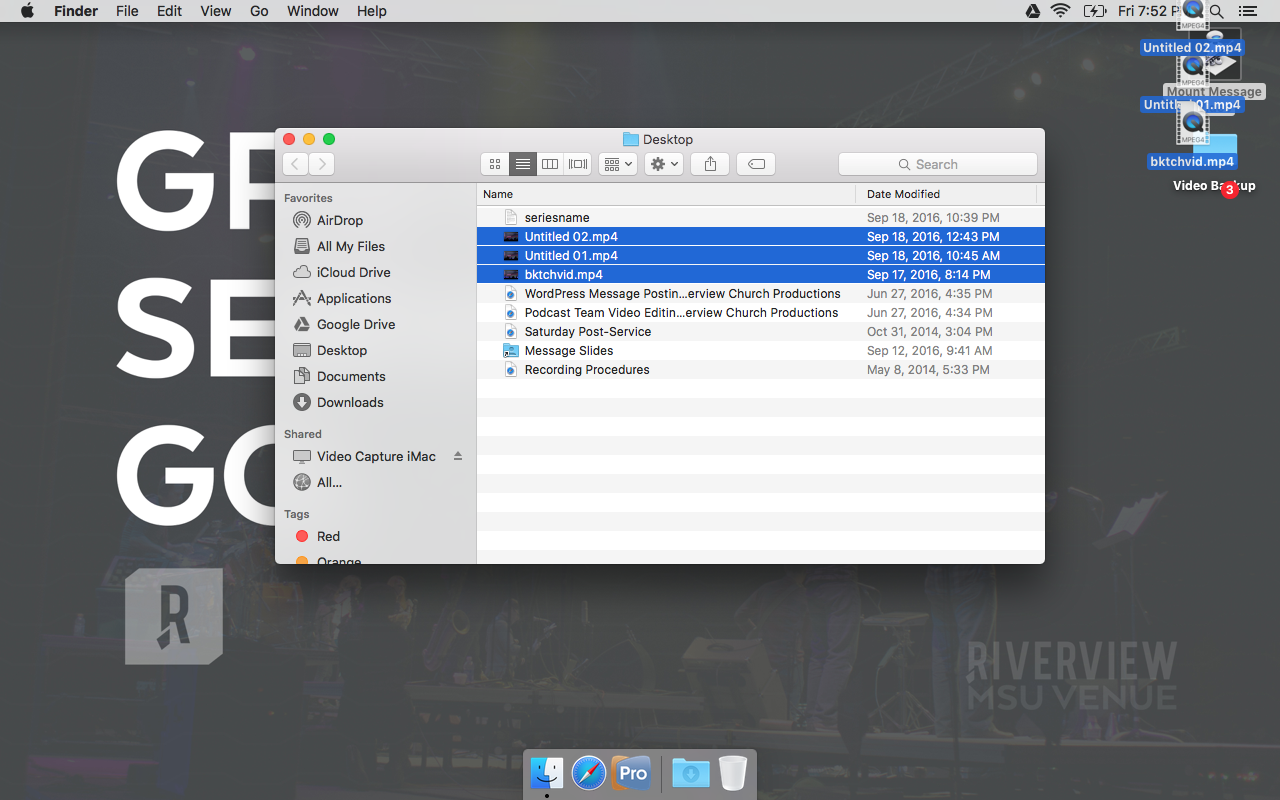
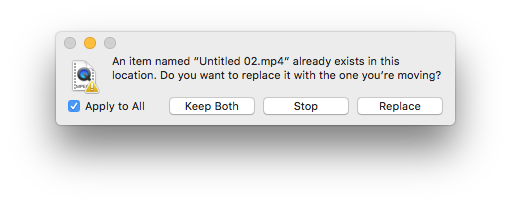
3. Drag the message video file (Untitled 01.mp4) from the window that pops up to the Video Backup folder. Click Apply, and then Replace on the dialog box that pops up. This should start the copy process, which takes about 3 minutes.
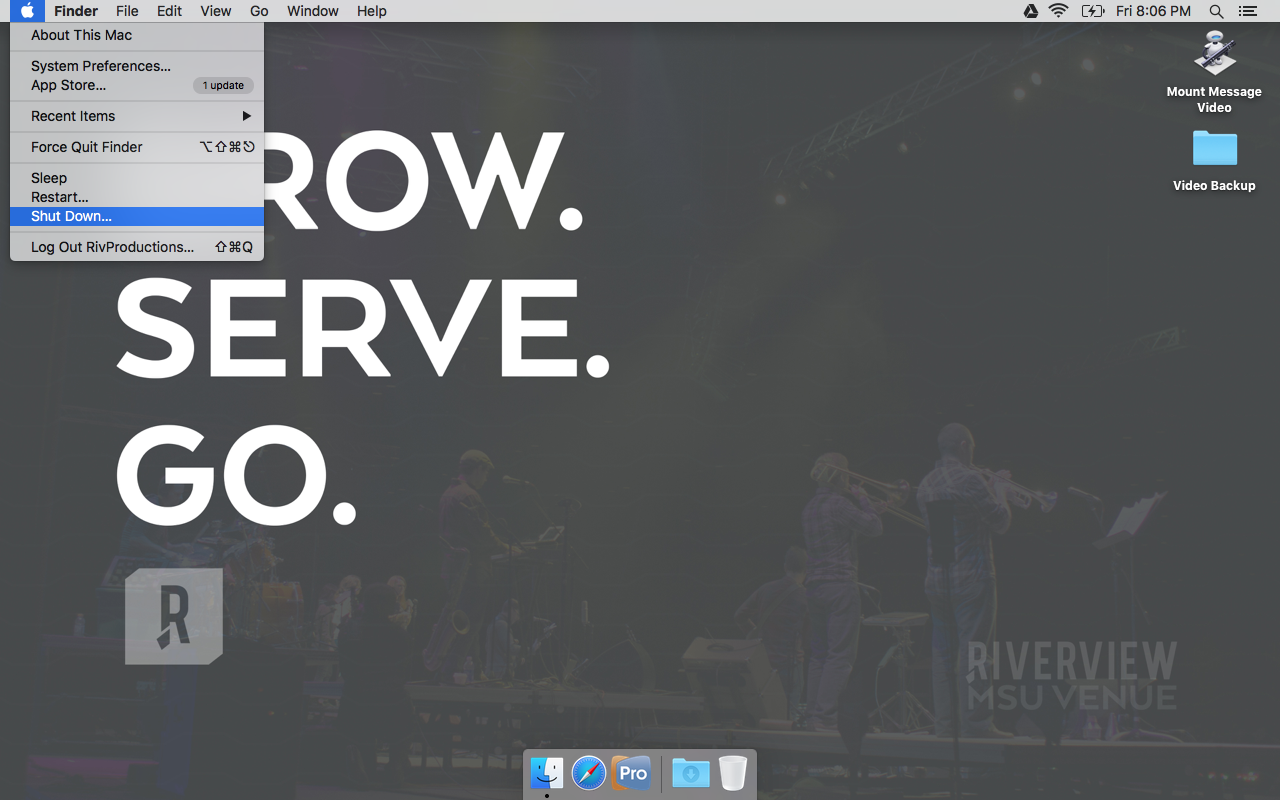
4. When the video file (Untitled 01.mp4) finishes coping on the MSU Background Macbook, click the Apple icon and Shut Down the computer.
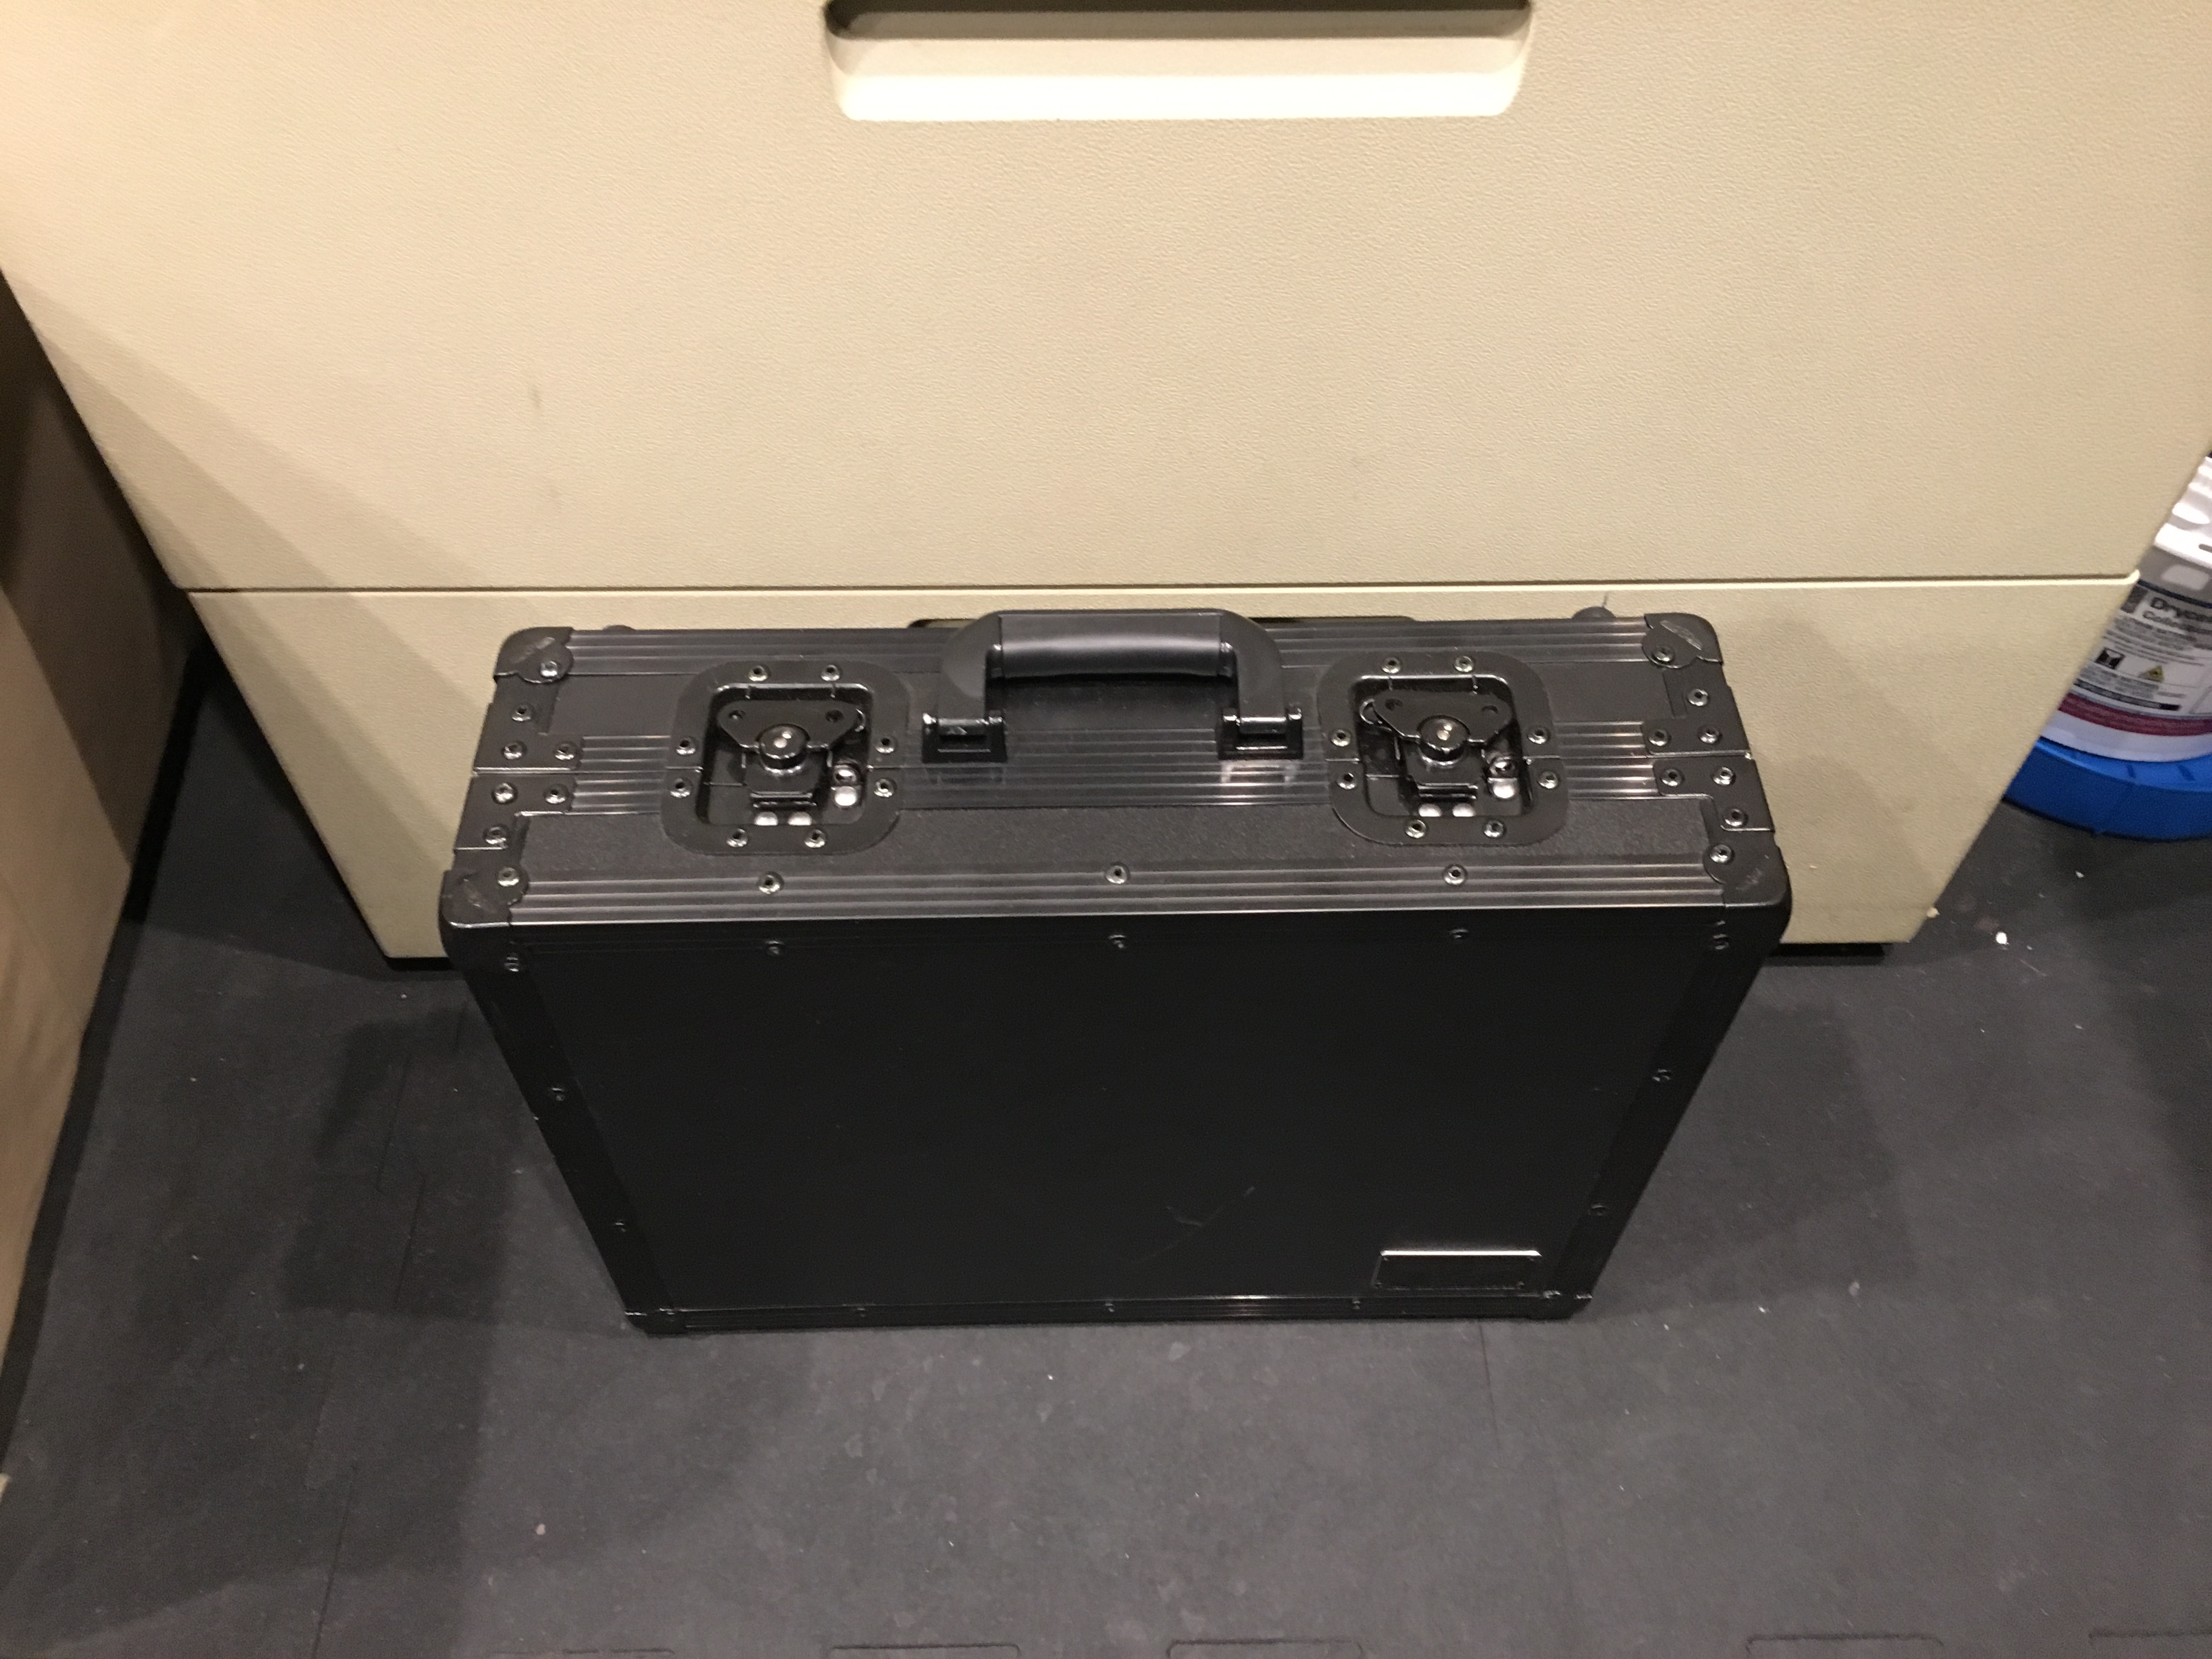
5. Put the MSU MacBook in the laptop case located in front of the file cabinet. Press down on the lid and turn the butterfly latches to securely close the case. Take the laptop case and place it on the floor in from of the file cabinet in the A/V Booth. Someone will come by on Sunday morning to transport the laptops and bin to MSU.

That is everything that the venues need for video teaching. Thank you for serving! Double check that the cameras and screens are off, and you’re done.
Media Express
With the addition of our 3rd venue, we’re switched to using the iMac to capture from Sony lock down camera instead of the JVC IMAG camera. There is a new capture software that accompanies this switch. This does NOT replace the recording on the Blackmagic SSD decks, so please continue to do that as well.
Here’s what you need to know:
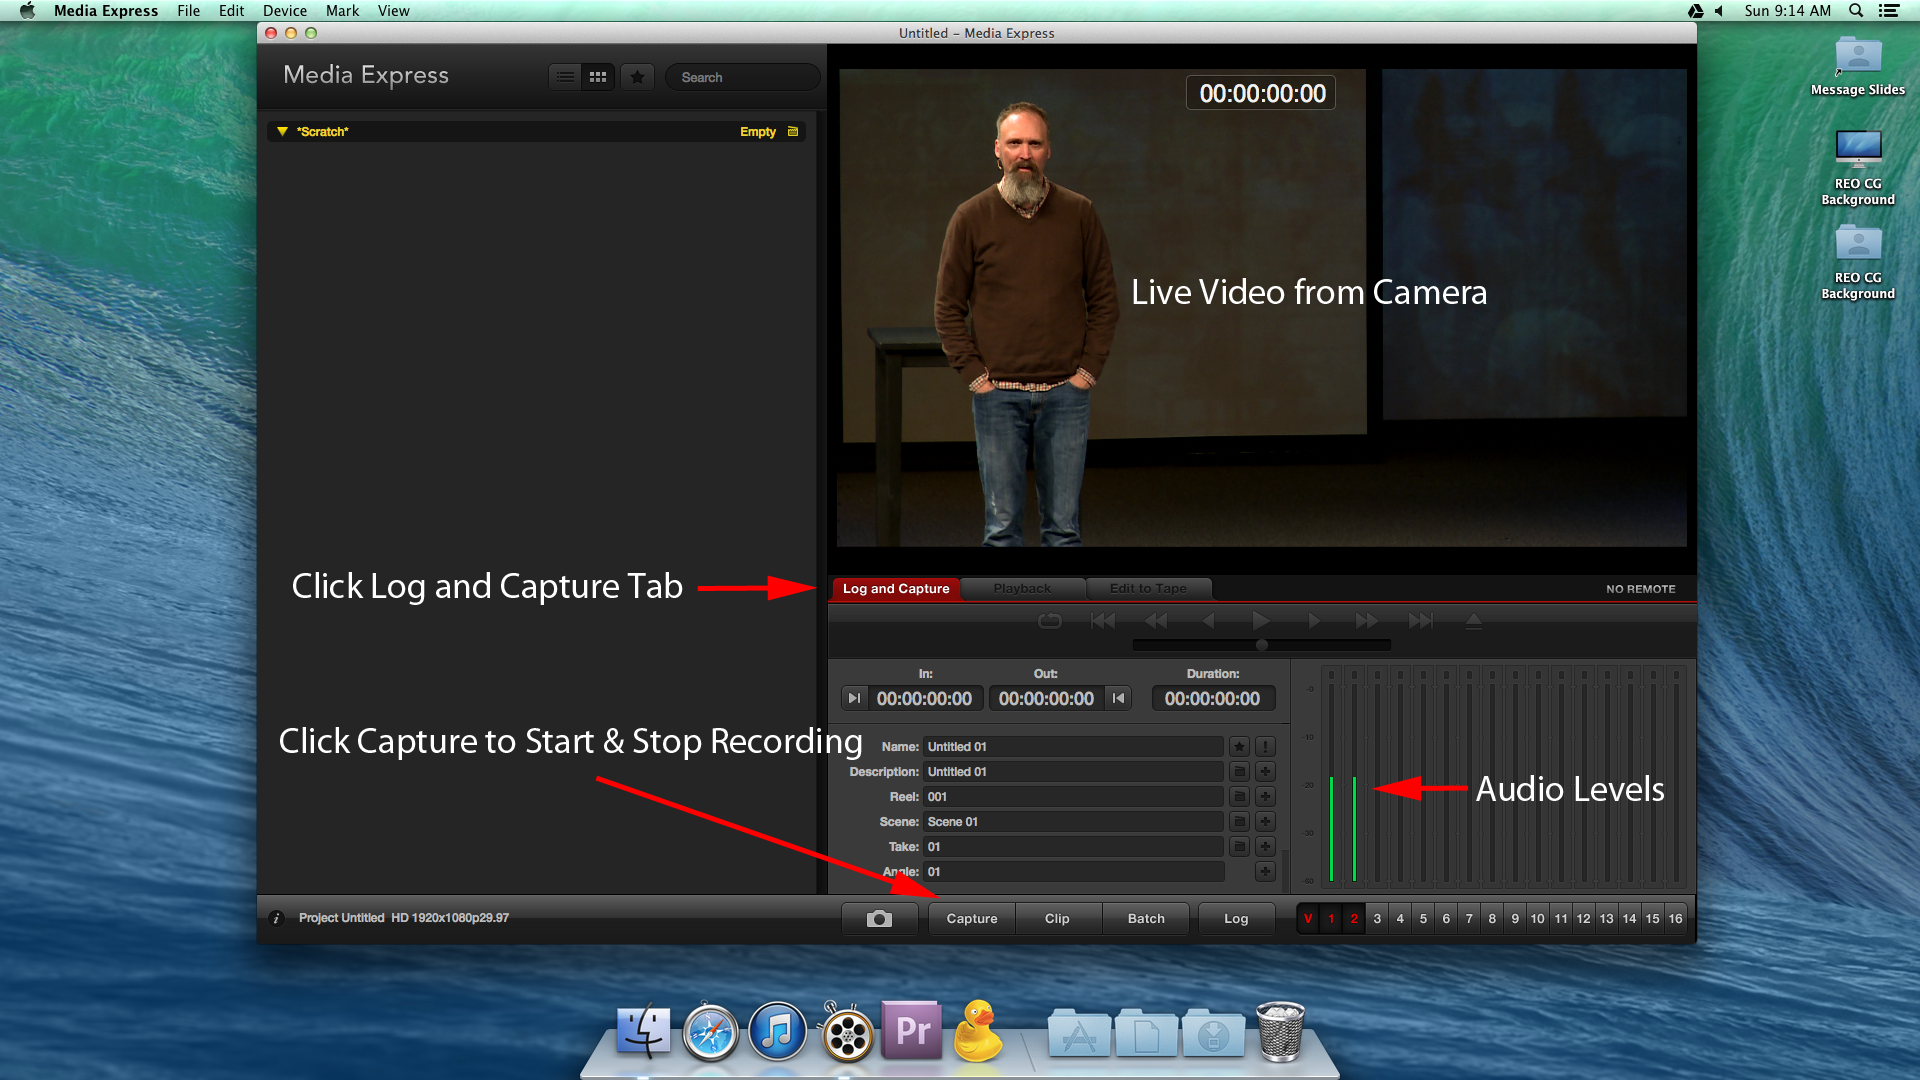
- To record on the iMac, open the Media Express program in the dock. (Round stopwatch icon)
- Click the “Log and Capture” tab at the bottom of the preview window.
- Click the “Capture” button during the last song before the message.
- The display should change to “Capturing to Disk”
- After the prayer at the end of the message, Click the “Capture” button to stop recording.
- The program automatically saves the recording, so there is no save option.
That’s all for the iMac recording now. If you have any questions, please contact [email protected].
Goodbye iMovie
With the recent release of OS X 10.9 Mavericks, we have upgraded most of our production computers from Snow Leopard to the latest Apple operating system. In the process of this upgrade however, we lost the old iMovie, and this new one just isn’t going to work for recording the IMAG camera anymore. So there’s a new program called OnLocation that we will be using instead. This does not replace our recording on the BlackMagic SSD, so please continue to do that as well.
Here’s what you need to know.
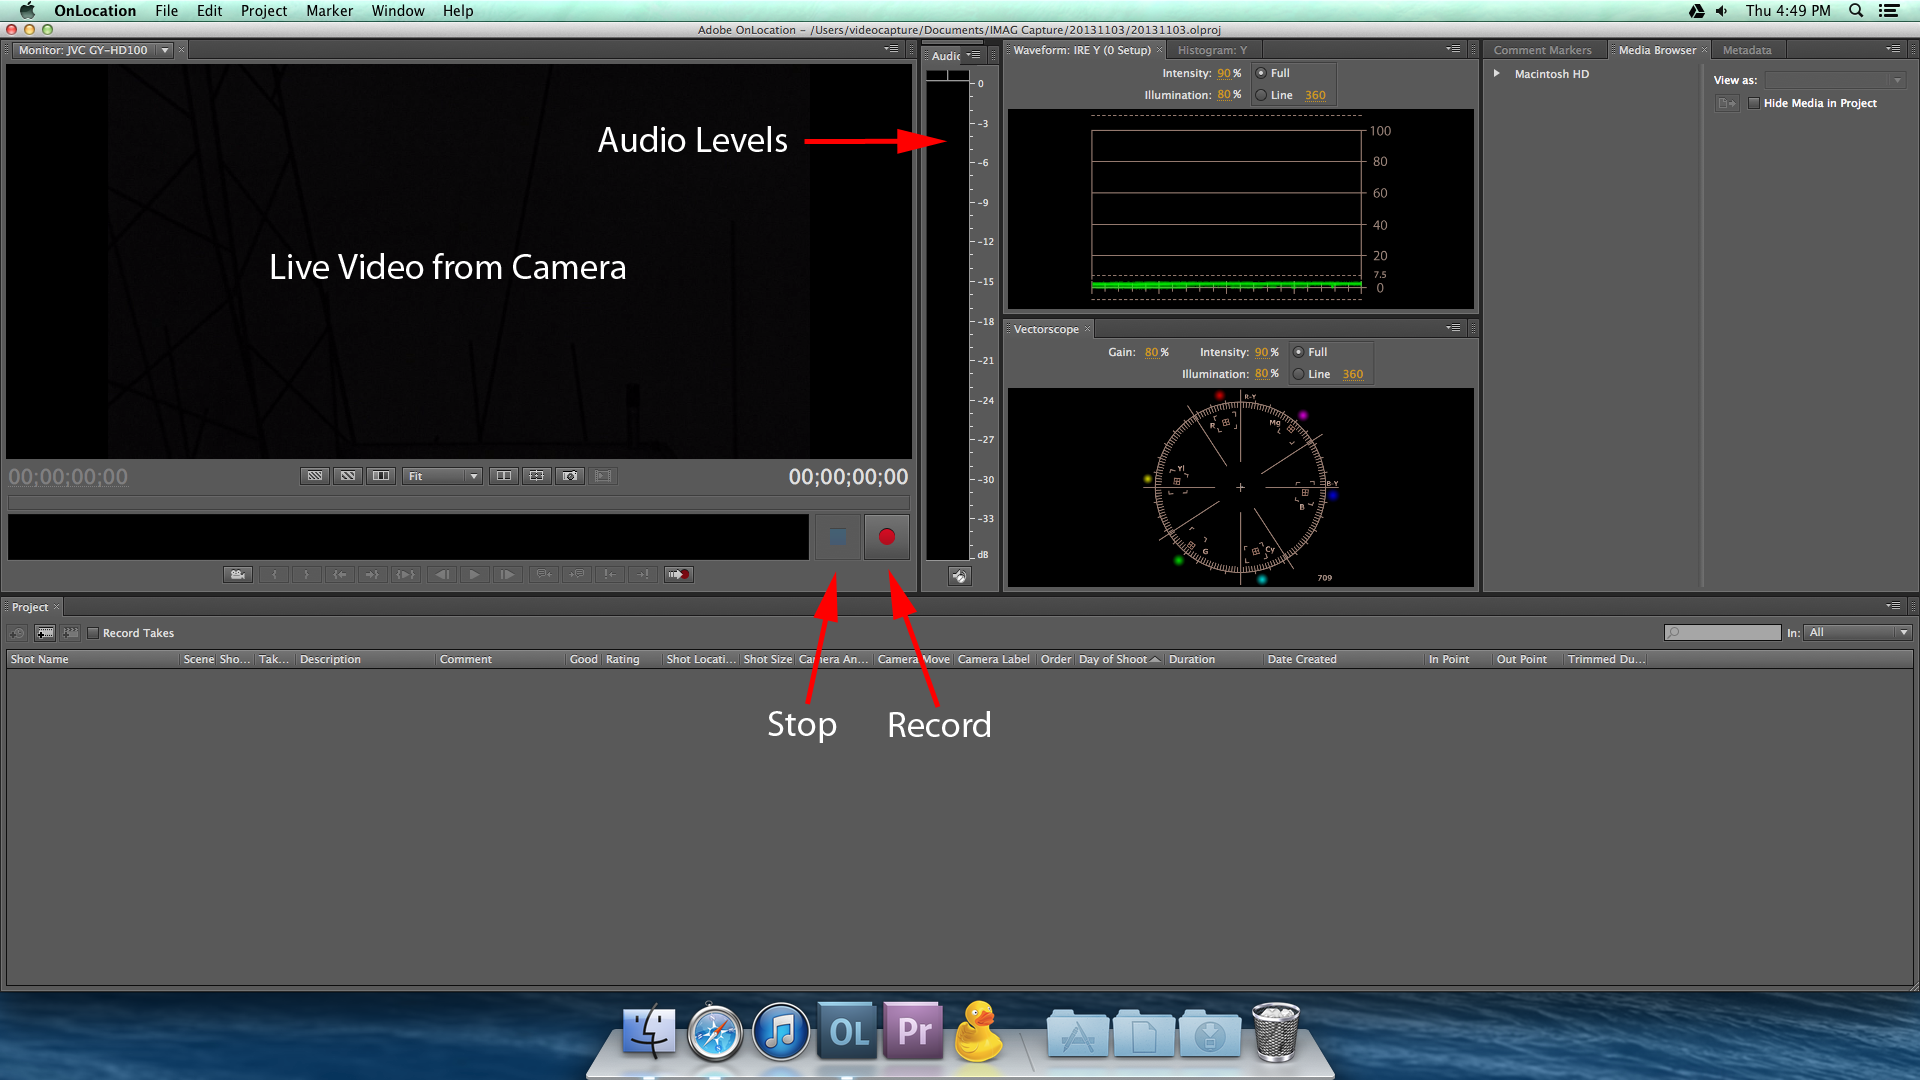
- To record on the iMac, open the OnLocation program in the dock. (Square OL Icon)
- Click the New Project button
- Type in the date YYYYMMDD (ie. 20131027) and click save
- The top left corner of the program is your field monitor and record controls
- Press the Red Record button during the last song before the message
- Press the Blue Stop button after the intro to the offering
- At the end of the day quit OnLocation. The program automatically saves the recordings, so there is no save option.
That’s it for recording the IMAG camera now. If you have any questions, please contact [email protected]
Sony Camera Zoom & Focus
Finding the correct focus and framing for the sony lock-down shot can be a bit of a trick. These things should not change from week to week, but if you do need to reset the zoom and focus on this camera, here’s some tips that will help you get the perfect setup.
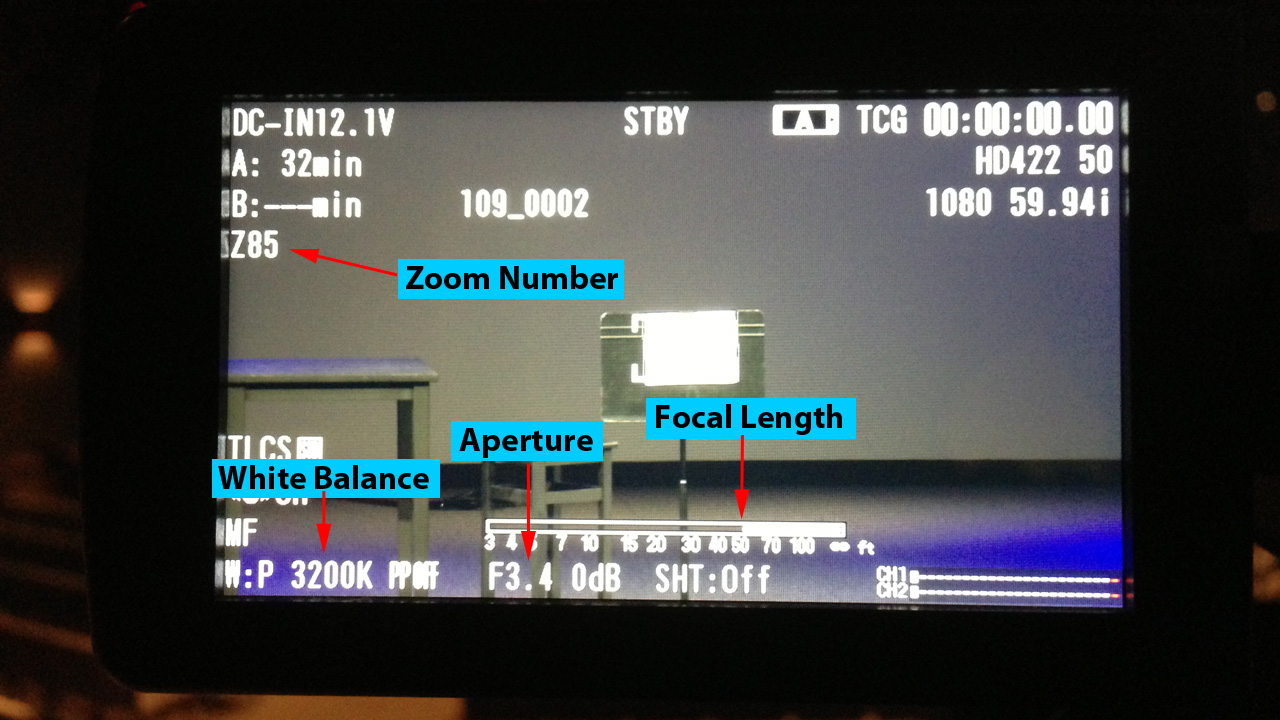
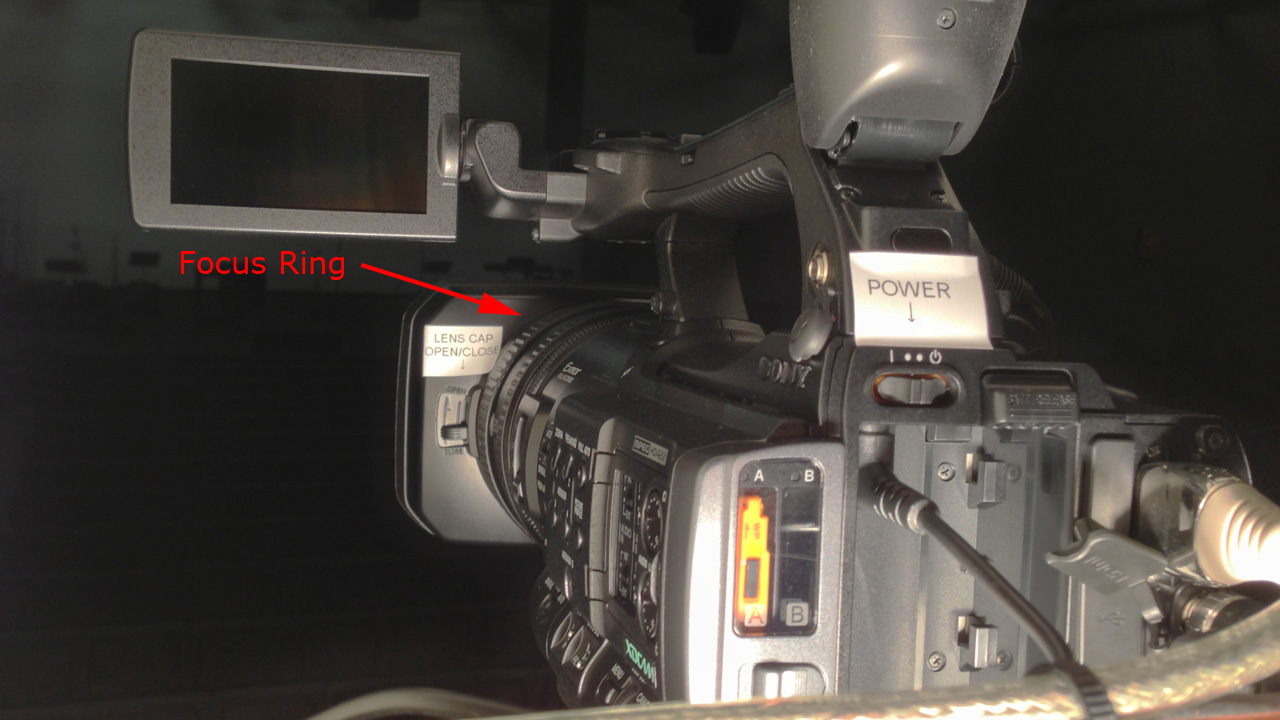
Start by zooming in all the way on the teacher while they are on stage. Carefully adjust the focus ring until the lines on the speaker’s shirt “pop out” or you can clearly read their coffee mug or edge of their bible. Check your focus by looking at the focus graph on the bottom center of the sony camera display. The left side of the focus bar should be above the “0” of the 50′ mark. Once you have set your focus, zoom back out to get the whole speaking area in frame. On the left side of the camera display there is a zoom number. That number should be at 85 when you’ve reached the correct zoom.
Recording Camera
As some of you have already seen, we have recently replaced the little Canon camera with a new Sony camera. This move has greatly increased the video quality of our messages which are used for the website, MSU, and soon the REO venue. Here’s some things you need to know about the new camera.
This new camera is all setup and ready to go. You just need to turn it on, and open the lens cap. The power button slides left and right on the back of the camera, the lens cap slides up and down on the front left to open and close. You should check framing and focus just like before, but these things should be all set. To check those, press the “HDMI” button on the monitor above the JVC camera. It might take a second before video displays. If after a second or two if the screen is still black, double check that you opened the lens cap. (See attached picture) To switch back to the IMAG camera, press the “YPbPr” button on the IKAN monitor.
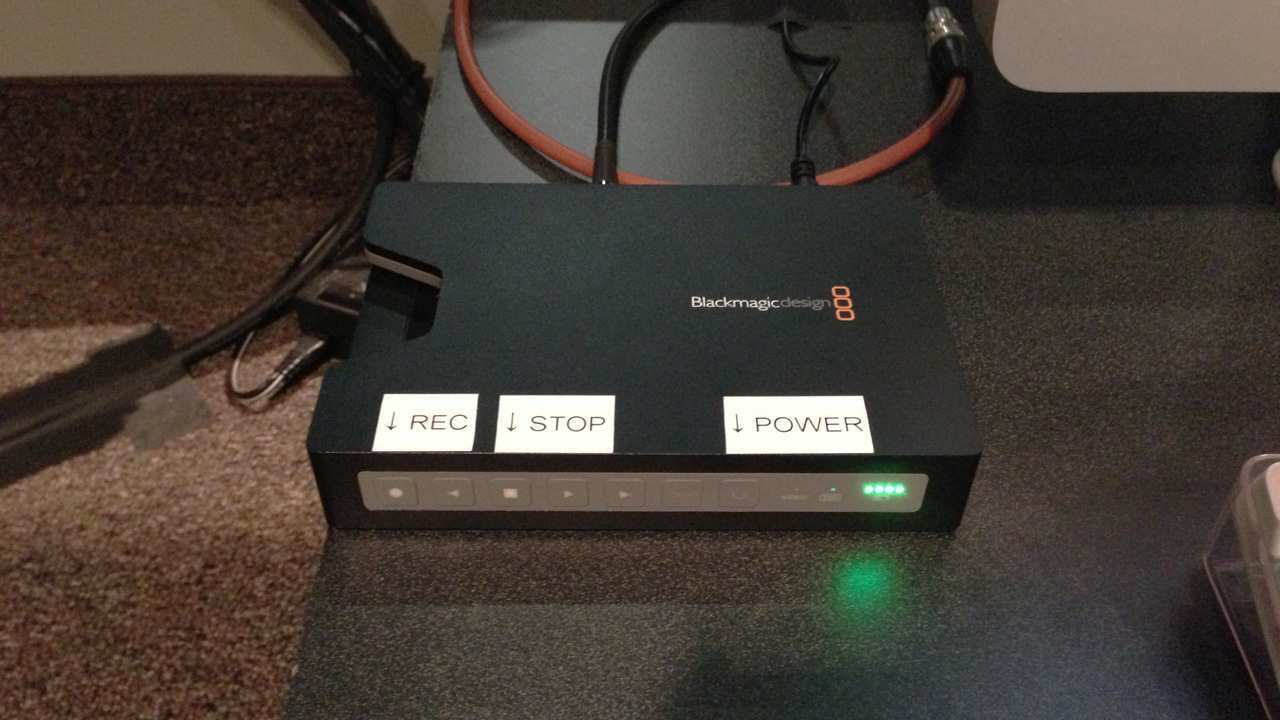
Recording is a little different with this new camera. Instead of recording to the camera, video will be recorded on a separate SSD recorder. This recorder is located to the left of the iMac. You will need to turn this recorder on by pressing the power button and hitting the record button at least a song or two before the message. (Buttons glow when active) When the message is done, hit the stop button. At the end of the day, hold the power button for the recorder to turn off. Recording on the iMac with iMovie will stay the same, so please continue to do that as well.
An updated checklist is available here and is also posted next to the camera platform.