As some of you have already seen, we have recently replaced the little Canon camera with a new Sony camera. This move has greatly increased the video quality of our messages which are used for the website, MSU, and soon the REO venue. Here’s some things you need to know about the new camera.
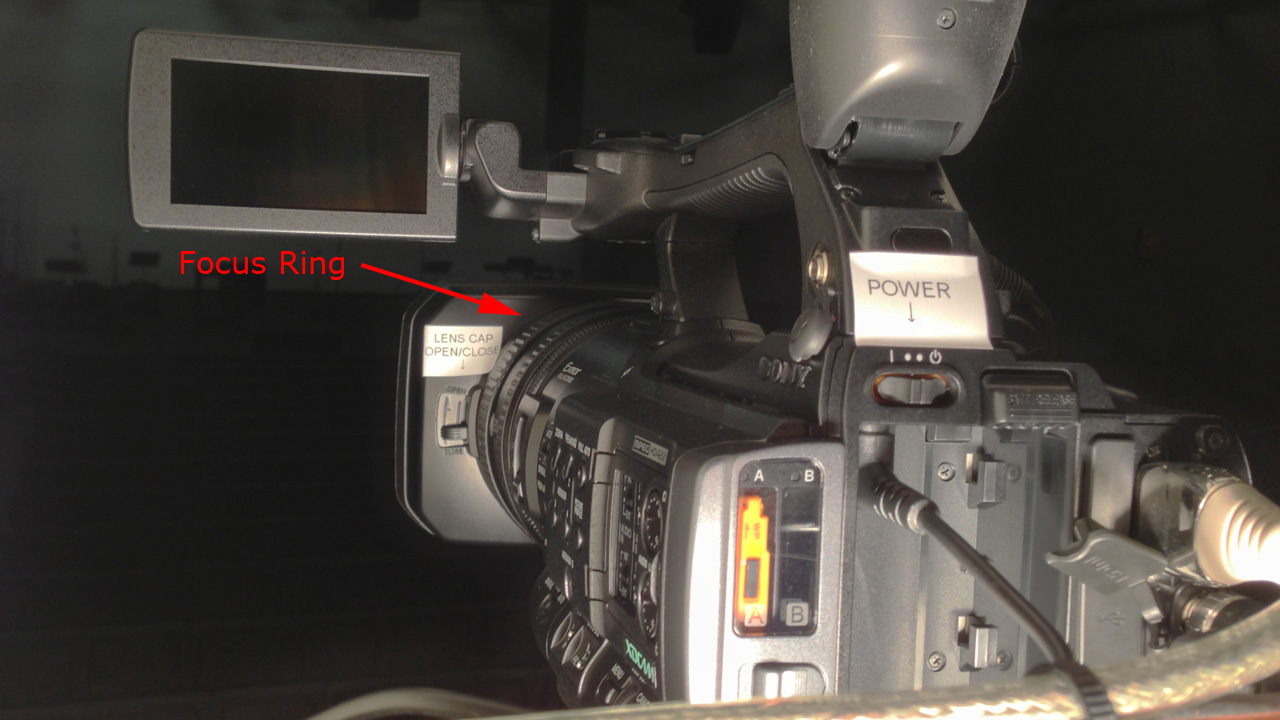
This new camera is all setup and ready to go. You just need to turn it on, and open the lens cap. The power button slides left and right on the back of the camera, the lens cap slides up and down on the front left to open and close. You should check framing and focus just like before, but these things should be all set. To check those, press the “HDMI” button on the monitor above the JVC camera. It might take a second before video displays. If after a second or two if the screen is still black, double check that you opened the lens cap. (See attached picture) To switch back to the IMAG camera, press the “YPbPr” button on the IKAN monitor.
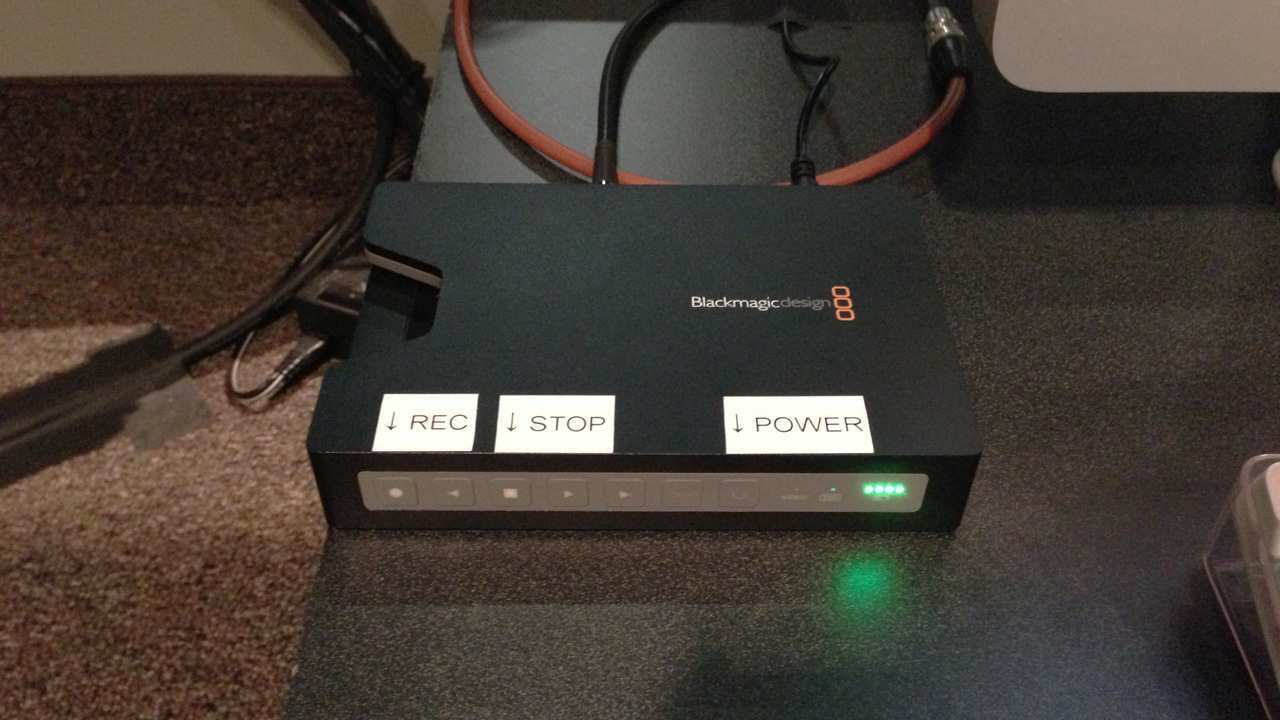
Recording is a little different with this new camera. Instead of recording to the camera, video will be recorded on a separate SSD recorder. This recorder is located to the left of the iMac. You will need to turn this recorder on by pressing the power button and hitting the record button at least a song or two before the message. (Buttons glow when active) When the message is done, hit the stop button. At the end of the day, hold the power button for the recorder to turn off. Recording on the iMac with iMovie will stay the same, so please continue to do that as well.
An updated checklist is available here and is also posted next to the camera platform.