Here is a simple guide to help with placement of headset microphones. Microphone placement for speaking is very important as a small change in placement can make a big difference in the tone of someone’s voice. Spending a few seconds to check and double check proper placement will help achieve the most natural sound, which in turn eases the ability for people to focus in on what is being taught.
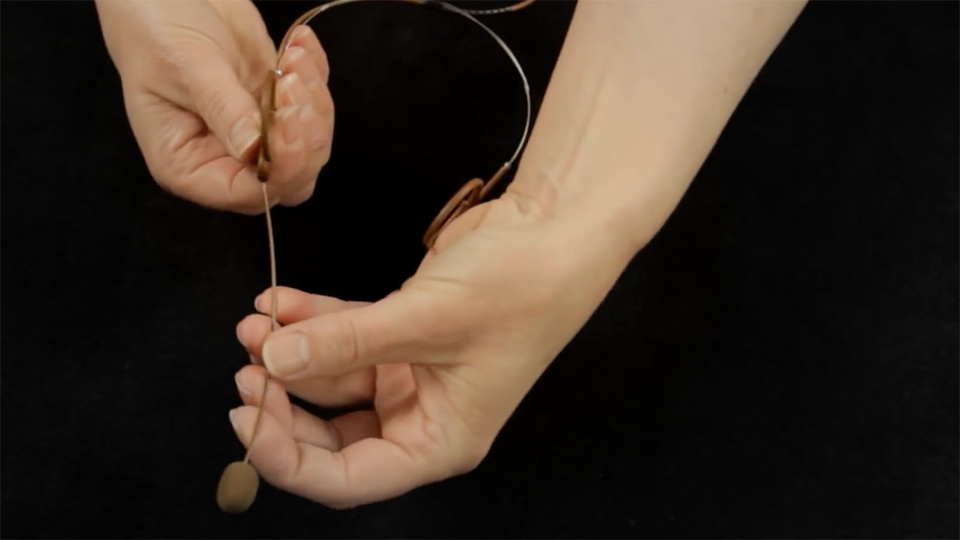
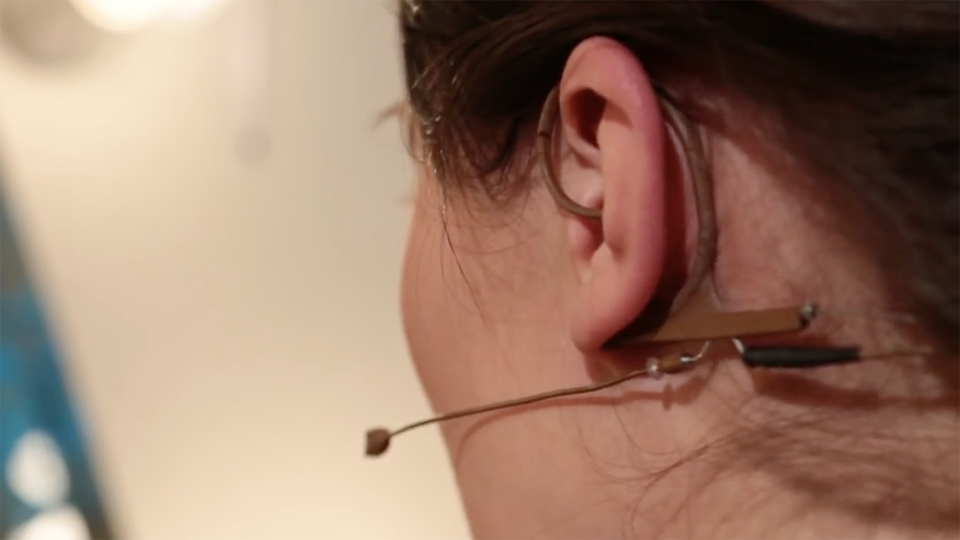
The boom should be adjusted to rest as close to the face as possible with the microphone capsule about an inch behind the corner of the mouth. Rotate or bend the microphone boom (depending on model) to achieve optimal positioning. Leave a little room for facial hair as necessary.
Here is an example of what proper microphone placement should look like. A few seconds to make these adjustments will help achieve the best sound quality and make the headsets comfortable to wear.

Below is a guide of adjustments for the different style of headset microphones at Riv.
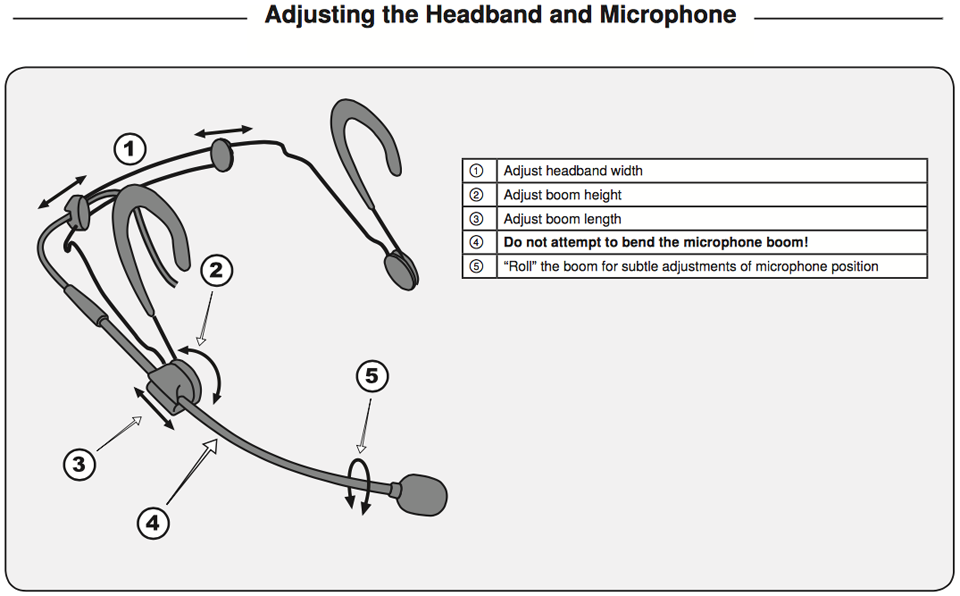
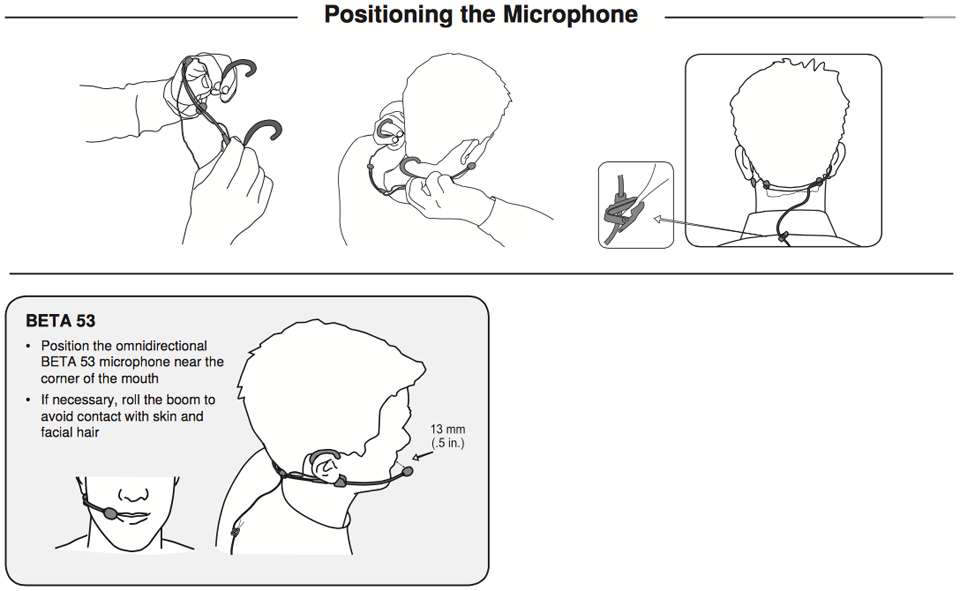
The Shure Beta53 headset’s adjustments are as follows.
The DPA 4088 headset adjustments include adjusting the headband width, adjusting the boom length, and bending the boom position. Be sure to always bend the boom over a gentle surface, like a finger. The boom can be bent for both horizontal and vertical optimal positioning.
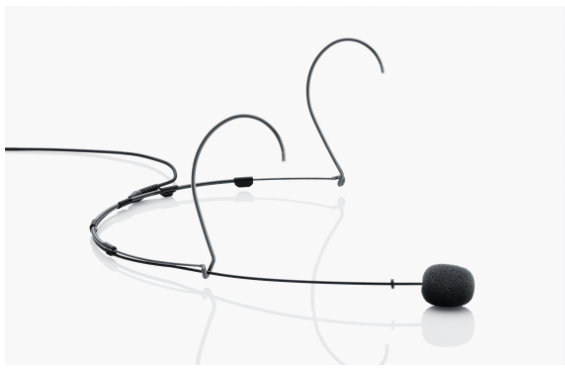
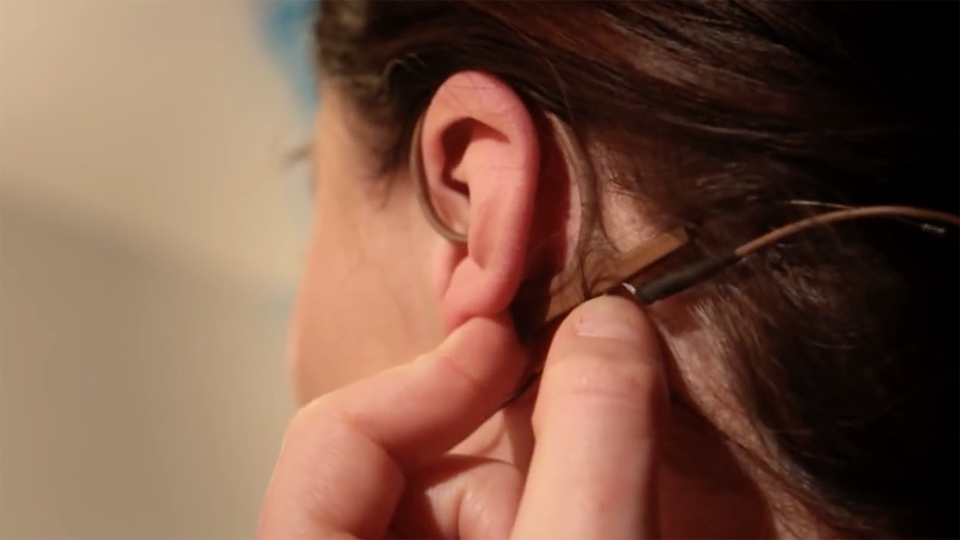
The DPA FIOF10 headset adjustments include the headband width, the boom length, and boom roll. The ear loops should be placed with the flat section fully under AND behind the earlobe.
The boom can be adjusted in length by sliding forward or backwards inside the flat section.
To reverse which side the boom is on, simply rotate both ear loops.
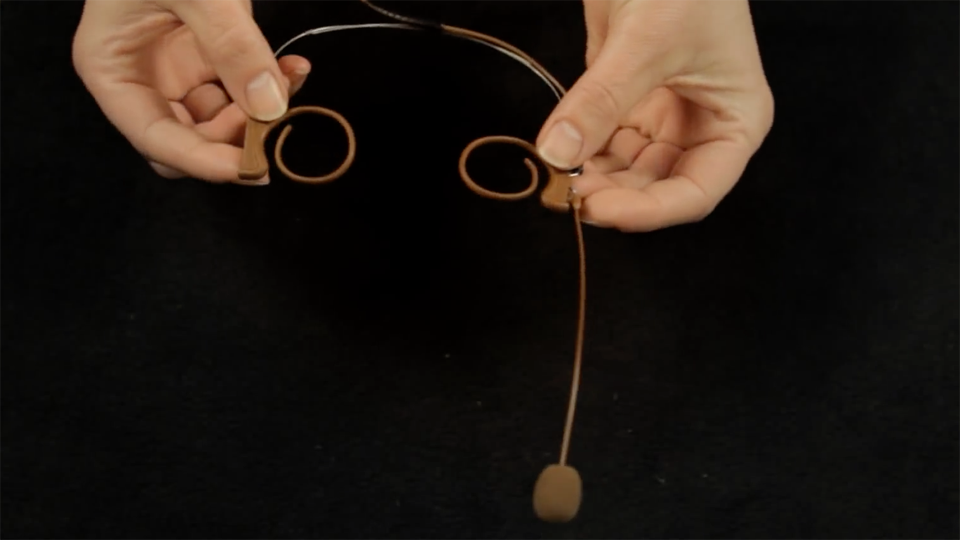
Then roll the boom to the correct position.